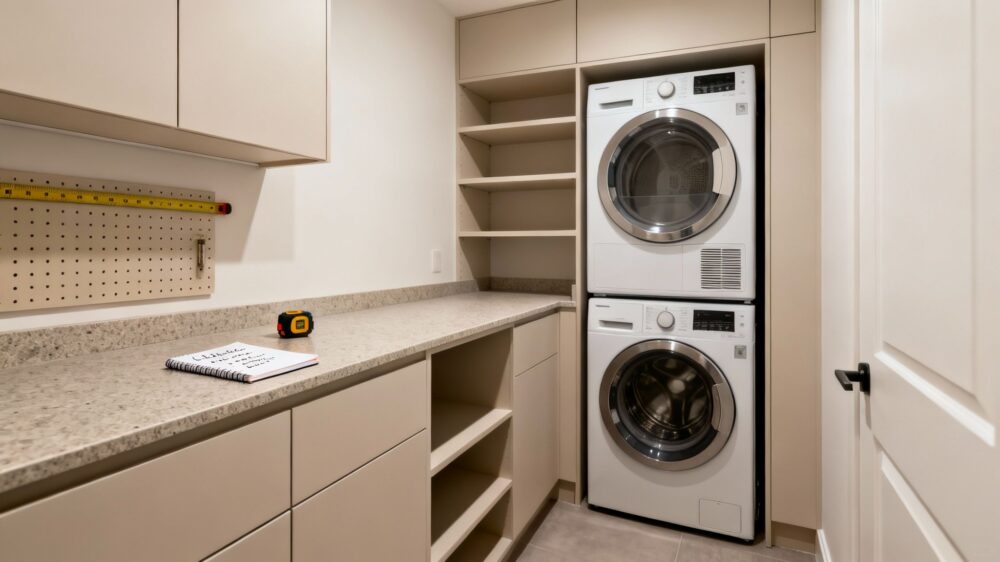
Discover practical tips for a laundry renovation on a budget. Get cost breakdowns, DIY ideas and affordable finishes for your laundry reno.
Doing a laundry renovation on a budget all comes down to smart planning and knowing exactly what you want to achieve. The trick is to put your money where it counts, on the things that give you the biggest bang for your buck, functionally and visually.
This approach can turn a tired, forgotten room into a super-efficient space you actually enjoy being in, all without draining your bank account.
Your Blueprint for a High-Impact Budget Laundry Renovation
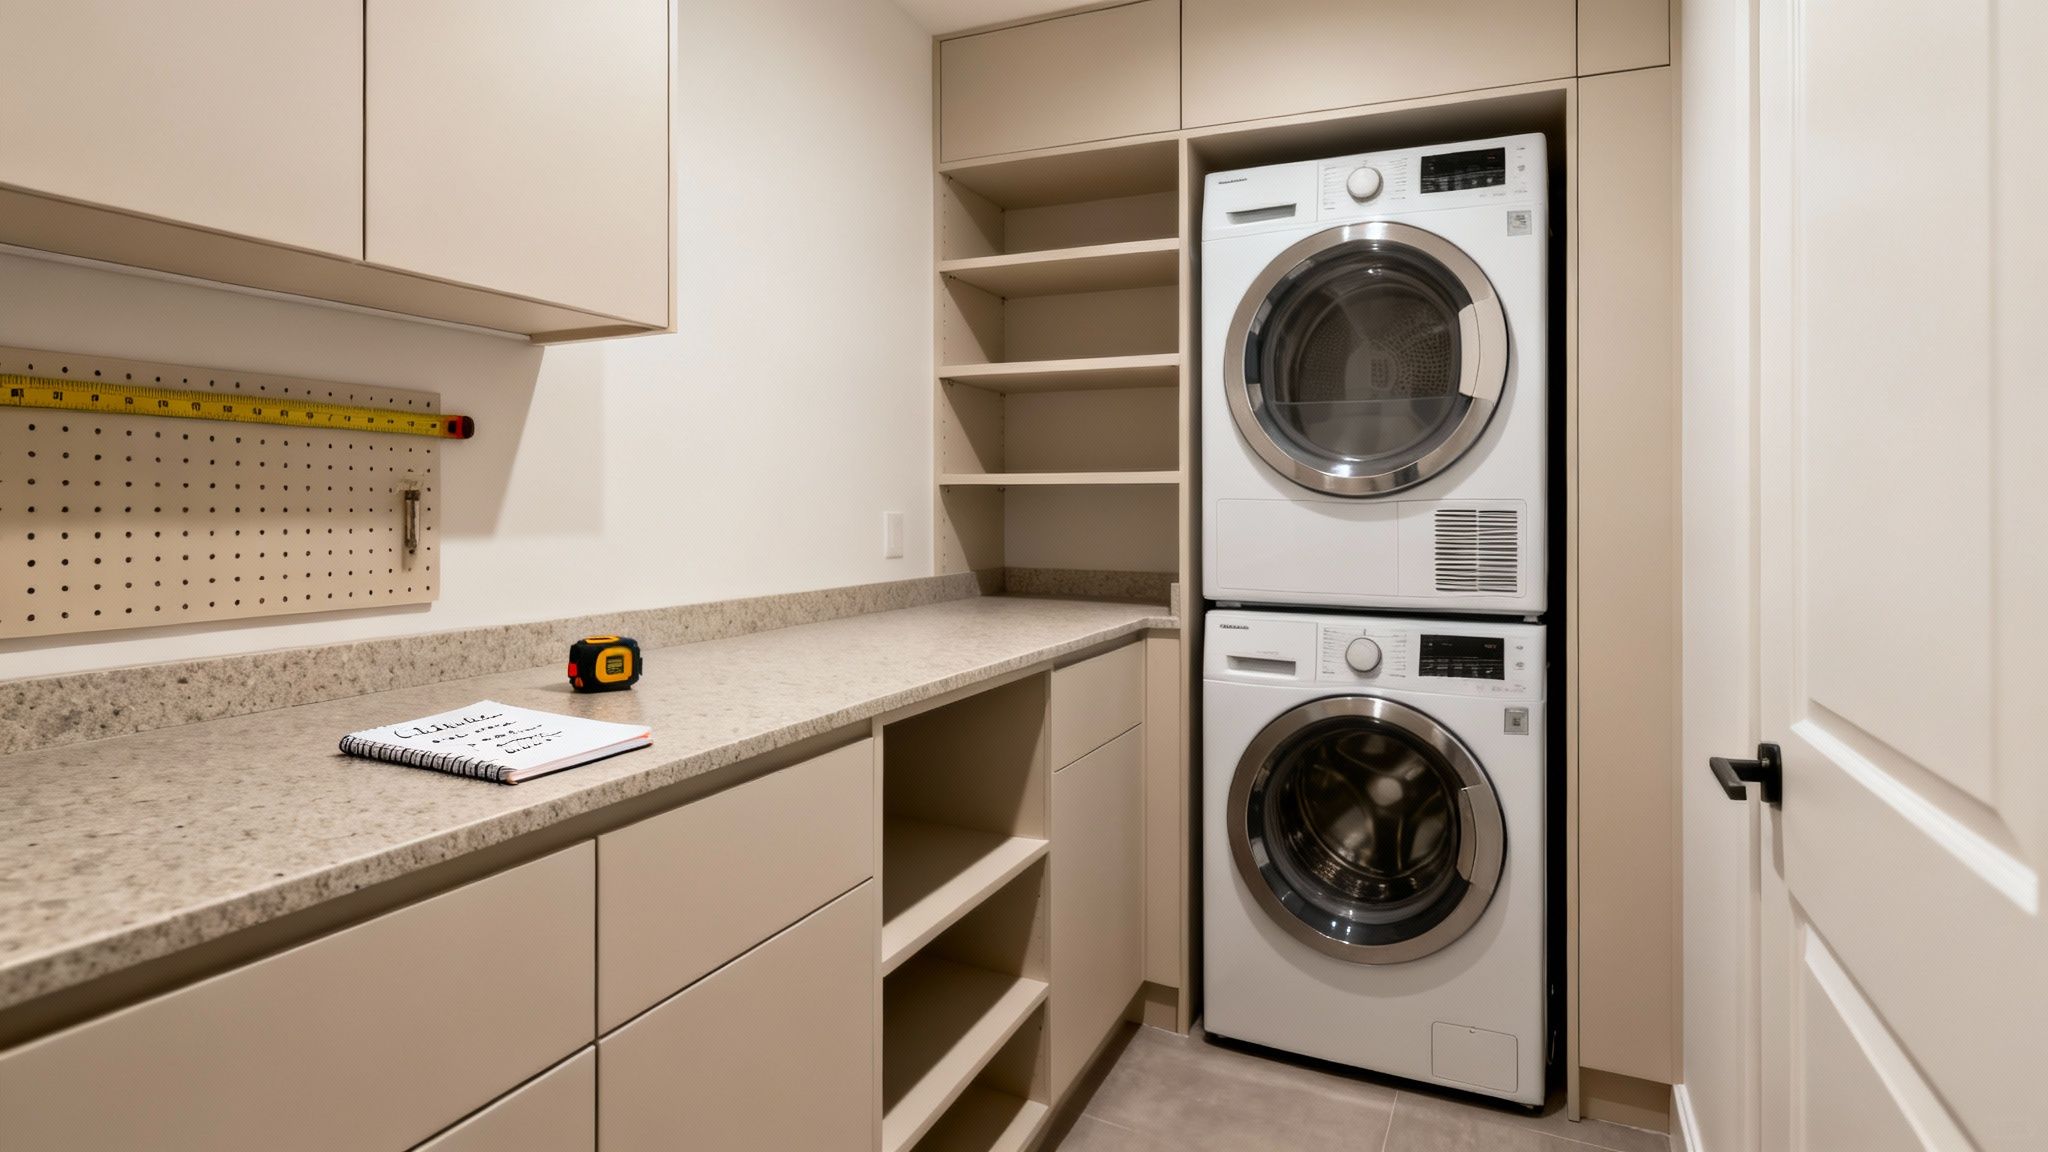
Dreaming of a laundry that’s both functional and stylish but don't have a massive budget? Good news: it’s totally achievable. This is where you move from wishful thinking to a concrete plan, transforming a cluttered corner into a streamlined workspace.
But before you start pulling up tiles or even browsing for new taps, you need to be crystal clear on what you’re trying to fix or improve.
Knowing your goals will steer every single decision you make, from the materials you pick to figuring out which jobs you can handle yourself.
Define Your Renovation Scope
First things first, what’s the scale of this project? Are we talking a simple cosmetic facelift or a more involved remodel? Each path has its own price tag and timeline.
- Cosmetic Refresh: This is your most budget-friendly option. It’s all about surface-level changes: a fresh coat of paint, new handles on the cabinets, swapping out the tapware, or even adding some funky peel-and-stick tiles. A quick refresh can make the whole room feel brand new for a surprisingly small outlay.
- Minor Remodel: This is a step up, but still avoids major structural work. Think ripping out old cupboards and putting in some flat-pack ones, installing a new benchtop, or laying fresh vinyl flooring over tired old tiles. You get a massive transformation without the headache and cost of moving plumbing or walls.
- Full Remodel: This is the big one and the most expensive. It could involve changing the layout entirely, moving plumbing and electricals, putting in new windows, and gutting the room back to the studs. While the results are dramatic, it’s usually not the route for a tight budget.
For most people, a cosmetic refresh or a minor remodel hits that sweet spot between making a real difference and keeping costs down. In Australia, over 30% of homeowners planning renovations set a budget between $5,000 and $15,000, which is right in the ballpark for these kinds of laundry upgrades.
Prioritise for Maximum Impact
Once you've settled on the scope, it's time to decide where the money really needs to go. Not every upgrade is equal. The secret to a killer budget reno is to focus your cash on the things that will genuinely make your day-to-day life easier.
A well-planned laundry isn't just about how it looks; it's about workflow. The best investment you can make is in practical storage and usable bench space. These two elements will fundamentally change how you use the room every single day.
Think about what drives you crazy about your current laundry. Is it the complete lack of space to fold clothes? The mess of cleaning supplies with nowhere to live?
Or is it just a dark, dingy-looking room? Your frustrations are the perfect guide to your most valuable upgrades.
From here, you can start to pull together a realistic budget that will turn your ideas into a finished room. For a bit more guidance, have a look at our top tips for successful laundry renovations in 2025.
Breaking Down the Costs of a Laundry Makeover
Knowing where your money is going is the first step to staying on top of any reno. When it comes to a laundry makeover on a budget, getting a handle on the typical costs for each part of the job helps you plan properly and sidestep any nasty surprises later on.
Let's talk real numbers. Here in Melbourne, a laundry renovation can set you back anywhere from $5,000 to $25,000. That huge range comes down to the size of your room, the quality of finishes you pick, and how much work you’re actually doing.
A simple cosmetic spruce-up, a lick of paint, new handles, maybe some open shelving, will land you at the lower end. Most mid-range renos sit between $10,000 and $18,000, which usually covers new cabinetry, a tiled splashback, and some basic plumbing tweaks.
For a deeper dive into the numbers, this helpful laundry renovation guide is a great resource.
That massive price difference really shows how much your choices matter. Just picking a laminate benchtop instead of engineered stone can save you hundreds, if not thousands.
Core Renovation Expenses
To build a budget that actually works, you’ve got to break the project down. Every single element has its own cost for materials and, potentially, labour – and it all adds up fast if you’re not watching it closely.
Here are the main things you’ll need to budget for:
- Cabinetry and Storage: This is often your biggest ticket item. Flat-pack from places like IKEA or Bunnings is the most wallet-friendly path, while custom joinery will be your biggest splurge.
- Benchtops: Costs run the gamut from affordable laminate to mid-range timber and high-end options like engineered stone.
- Tiling and Flooring: This covers the tiles or vinyl themselves, plus grout, adhesive, waterproofing, and the tiler's time.
- Plumbing and Electrical: These are the non-negotiables. You must use licensed tradies, and remember that moving services will always cost more than just swapping out fixtures in the same spot.
- Fixtures and Fittings: We’re talking about your sink (or trough), tapware, and any new lighting.
- Appliances: If a new washing machine or dryer is on the cards, this will be a big chunk of your spend.
Pro Tip: Always, always get at least three quotes from licensed tradies. The cost for a plumber, sparky, or tiler can vary heaps between professionals. Shopping around ensures you’re getting a fair market rate.
Where Your Money Really Goes
It’s easy to get excited about the shiny, visible stuff like taps and tiles, but it’s the work behind the walls that often eats up a huge slice of the budget. Labour is a massive factor.
While doing some things yourself can definitely cut costs, you simply can't skimp on licensed trades for plumbing and electrical work, it’s about safety and compliance.
Waterproofing is a perfect example of a critical but unseen cost. Here in Melbourne, it has to be done to Australian Standards (AS 3740-2010), and you need a compliance certificate to prove it.
Cutting corners here is asking for trouble and could lead to disastrous water damage down the track.
Likewise, the cost of getting a plumber to move a water tap just 50cm to the left can be surprisingly high.
It involves cutting into the plaster, running new pipes, and then patching it all up. This is exactly why keeping your layout as-is is one of the smartest money-saving moves you can make.
Sample Budget Breakdown For A $7,500 Laundry Renovation
To bring this all to life, here’s a rough idea of how you could carve up a $7,500 budget for a modest laundry makeover. This scenario assumes you’re keeping all your plumbing and electrical points where they are and you’re happy to get on the tools for things like painting and flat-pack assembly.
| Item / Task | Estimated Cost (AUD) | Notes & Savings Tips |
|---|---|---|
| Cabinetry | $2,000 | Flat-pack cabinets (e.g., from Bunnings or IKEA). Assemble them yourself to save on labour costs. |
| Benchtop | $750 | A quality laminate benchtop offers a great look for a fraction of the price of stone. |
| Tiling (Splashback) | $800 | Includes budget-friendly ceramic tiles and professional labour for a small splashback area. |
| Flooring | $600 | Durable and stylish vinyl plank flooring installed DIY over existing tiles. |
| Plumbing Labour | $1,200 | For disconnecting the old trough and connecting a new sink and tapware in the same location. |
| Fixtures (Sink & Tap) | $550 | A good quality mid-range stainless steel sink and a modern mixer tap. |
| Painting & Supplies | $400 | Includes primer, paint for walls and ceiling, brushes, and rollers. This is a great DIY task. |
| Contingency Fund | $1,200 | Set aside 15-20% of your total budget for unexpected issues like hidden water damage or supply shortages. |
This breakdown shows just how quickly things add up, even on a fairly straightforward project. By putting together a detailed, line-by-line budget like this one, you take back control and can make smart calls about where to save and where it's worth spending a little more.
Choosing Materials That Look Expensive But Aren't
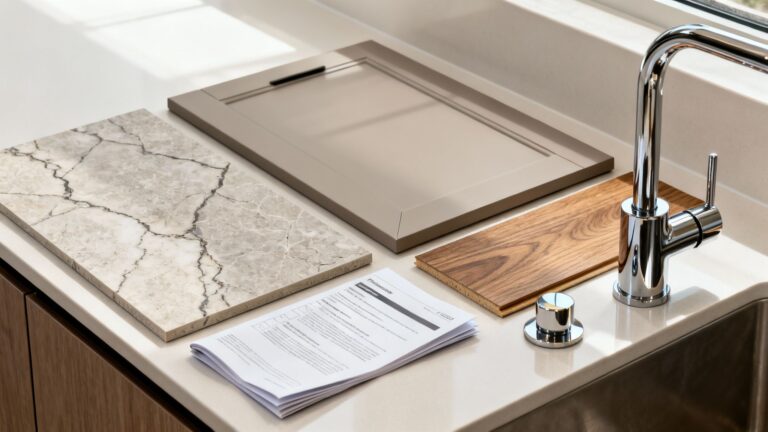
You absolutely do not need a high-end budget to get a high-end look in your laundry.
The real secret to a stunning, budget-friendly space comes down to making clever, strategic choices with your materials and fixtures. It’s all about nailing that perfect balance between cost, durability, and style.
By homing in on materials that cleverly mimic their more expensive cousins, you can pull off a laundry that looks and feels premium without the painful price tag. This is how you stretch every dollar to deliver maximum visual impact and day-to-day functionality.
Smart Swaps for Benchtops and Cabinetry
Your benchtops and cabinets are the visual backbone of the laundry, so getting them right is crucial. While solid stone or custom joinery are beautiful, they can eat up a huge chunk of a modest budget.
Thankfully, there are modern alternatives that deliver a seriously similar aesthetic for a fraction of the cost.
For an instant refresh, think about giving your existing cabinetry a facelift. A fantastic and affordable trick is painting your laundry room vanity and cabinets. A fresh coat of paint in a contemporary colour can completely transform tired, dated cupboards.
If you’re installing new, here's where you can save big:
- Premium Laminate Benchtops: Forget the laminates you remember from the past. Today’s options from brands like Laminex or Polytec offer incredibly realistic stone, concrete, and timber looks. They’re hard-wearing, easy to clean, and can save you thousands compared to engineered stone.
- Flat-Pack Cabinetry: Companies like IKEA, Bunnings (with their Kaboodle range), and Freedom have completely changed the game for affordable joinery. These systems are designed for easy DIY assembly, which slashes labour costs, and you can customise them with different door profiles and handles for a unique look.
Flooring That Fuses Style and Savings
Laundry flooring needs to be tough. It has to handle moisture, spills, and constant foot traffic, but it also plays a huge role in the room's overall feel. Tiles are a classic choice, but the cost of the tiles plus a professional tiler can add up fast.
This is where modern flooring solutions really shine. They give you the durability you need without the eye-watering installation costs.
The biggest win for budget-friendly flooring is vinyl plank. It’s 100% waterproof, warmer underfoot than tiles, and many types can be laid directly over your existing floor, saving you a fortune on demolition and prep work.
Check out these affordable and stylish options:
- Luxury Vinyl Planks (LVP): Available in incredibly convincing timber and tile finishes, LVP is a DIY-friendly champion. Its click-lock system makes installation surprisingly straightforward.
- Sheet Vinyl: A super cost-effective option, modern sheet vinyl comes in a huge range of patterns and colours, from cool graphic tiles to subtle stone looks.
- Ceramic Tiles: If your heart is set on tiles, ceramic is generally more affordable than porcelain. Hunt for deals at major hardware stores or tile warehouses, and consider tackling the tiling yourself if it’s a small, simple space.
Finding Affordable Fixtures and Fittings
The finishing touches, your tapware, sink, and lighting, are like the jewellery of the room. They can elevate the entire space, and this is where you can make a big impact without a big spend. You really don’t need a designer brand name to get a high-quality, stylish tap.
The key is to shop around. Online retailers and large hardware stores often have sales on tapware and sinks that look just as good as their expensive designer counterparts.
One of my favourite tips is to splurge on one key feature and save on the rest.
For instance, you could invest in a striking matte black or brushed brass gooseneck tap and pair it with a simple, affordable stainless steel sink. The tap becomes the hero piece, drawing the eye and making the whole setup feel more luxurious.
This same idea applies to lighting; an elegant pendant light can add a touch of class for well under a hundred dollars.
And if your plans involve moving the laundry outside, applying these material ideas could be a great starting point. We’ve got more inspiration in our guide to outdoor laundry ideas that might spark some thoughts.
DIY vs. Hiring a Pro: What to Tackle Yourself
One of the best ways to keep your laundry renovation budget in check is to roll up your sleeves and contribute some good old-fashioned sweat equity. Taking on some of the jobs yourself can literally save you thousands in labour costs, but you have to be brutally honest about your skill level and what the law requires.
Knowing when to DIY and when to call in the professionals is the secret to a project that’s successful, safe, and genuinely affordable.
It really comes down to weighing up the cost savings against your time and the potential risks. A slightly wonky tiling job might just be an annoying cosmetic flaw, but getting a plumbing connection wrong can lead to a catastrophic flood. That kind of damage will cost far, far more to fix than hiring a licensed plumber in the first place. The goal here is to cut costs without cutting corners on safety or the final quality.
High-Impact DIY Tasks for a Budget Renovation
If you’re reasonably handy and don’t mind getting your hands dirty, a surprising number of tasks in a laundry reno are well within reach. These are the jobs that don't need a special license and offer the biggest bang for your buck in labour savings.
Here are some of the best jobs to tackle yourself:
- Demolition: This is often the most satisfying part! Carefully pulling out old cabinets, ripping up tired lino, and chipping off a dated splashback can save a bundle right at the start. Just make sure you’re kitted out with safety gear and know exactly where your water and power mains are, and how to shut them off.
- Painting: Never underestimate the power of a fresh coat of paint. It's one of the cheapest and most transformative updates you can make. Painting walls, ceilings, and even giving old cabinets a facelift is a straightforward job that demands more patience than expert skill.
- Assembling Flat-Pack Cabinets: Whether you're getting them from IKEA or Bunnings, putting together the cabinet carcasses yourself is a massive money-saver. It can be a bit tedious, but it cuts out hours of a cabinet maker's or carpenter's time.
- Installing Shelving: Putting up some simple floating shelves or bracketed shelving is a quick and easy win. You can add a huge amount of valuable storage without the expense of overhead cupboards.
The Non-Negotiables: When to Call the Tradies
While DIY is brilliant for the budget, some jobs in Australia are strictly for licensed professionals. Trying to tackle these yourself isn't just dangerous; it's illegal and can void your home insurance policy in a heartbeat. In Melbourne, this work must also be signed off with a certificate of compliance.
Critical Safety Warning: Under no circumstances should you ever attempt DIY electrical or plumbing work. All wiring, power point installation, pipework, and drainage modifications must be completed by a licensed electrician and plumber to meet Australian Standards and ensure your home is safe.
Here's a clear breakdown of what you absolutely must outsource:
- All Electrical Work: This covers everything from moving a power point for your new dryer to installing downlights or running fresh wiring. Don't touch it.
- All Plumbing Work: Disconnecting the old trough, connecting new taps, shifting a drain pipe, or running new water lines, it's all a job for a licensed plumber.
- Waterproofing: This is a mission-critical step in any wet area. It has to be done by a certified waterproofer to prevent leaks that can cause rot and structural damage down the track.
- Major Structural Changes: Thinking of knocking down a wall to make the space bigger? If it's load-bearing, you'll need a registered builder and council permits. This is not a weekend DIY job.
Calculating the True Cost of Your Time
Before you dive headfirst into a DIY task, do a quick reality check. What’s your time actually worth? If tiling a tricky splashback is going to consume your entire weekend with stress and painstaking effort, paying a pro a few hundred dollars to get it done perfectly in a couple of hours might be the smarter move.
Think about it this way: the money you save by assembling your own cabinets could be put straight towards paying a tiler for that flawless finish. Smart laundry renovations on a budget are all about strategically allocating your resources, both your cash and your time, to get the best possible outcome.
Nailing the Order of Operations for Your Renovation
Any experienced renovator will tell you that a well-thought-out sequence is everything. Get the order wrong, and you're looking at frustrating delays and costly rework. Doing things out of order is the quickest way to blow your budget.
Think about it: you can't lay those gorgeous new floor tiles before the plumber has chased the new pipes into the slab. And you certainly can't install your flat-pack cabinets before the walls are plastered and painted. Following a logical flow means you avoid undoing finished work, keeping the project moving smoothly and your budget intact.
Kicking Things Off: Strip-Out and Rough-In
This is where the real transformation begins. The first job on the tools is the demolition, carefully tearing out the old cabinetry, benchtops, sink, and any floor coverings. Once you've got a blank canvas, it's time for the licensed tradies to come in and set the stage for everything else.
This is when the electricians and plumbers do their rough-in. They’ll run new wiring for your power points and lights, and install new water and waste pipes for your washing machine and sink. If you’re changing the layout and moving appliances, this stage is absolutely critical and must be done before any walls are closed up.
We've put together a handy guide on what's involved in a plumbing rough-ins if you want to dive deeper.
Building it Back Up: Waterproofing and Tiling
With all the services roughed in, the focus shifts to preparing the room itself. Any plastering or wall repairs happen now to get the surfaces smooth and ready. Next up, a certified waterproofer will apply a membrane to the floor and key wall areas, a non-negotiable step to prevent leaks and expensive water damage down the track.
Only after the waterproofing is fully cured can the tiler get to work. They'll lay the floor and wall tiles, then come back to grout them. This is a huge milestone, as the space finally stops looking like a chaotic construction site and starts to feel like the room you envisioned.
The infographic below gives a great breakdown of which tasks are generally safe for a keen DIYer versus the jobs you absolutely must leave to the pros.
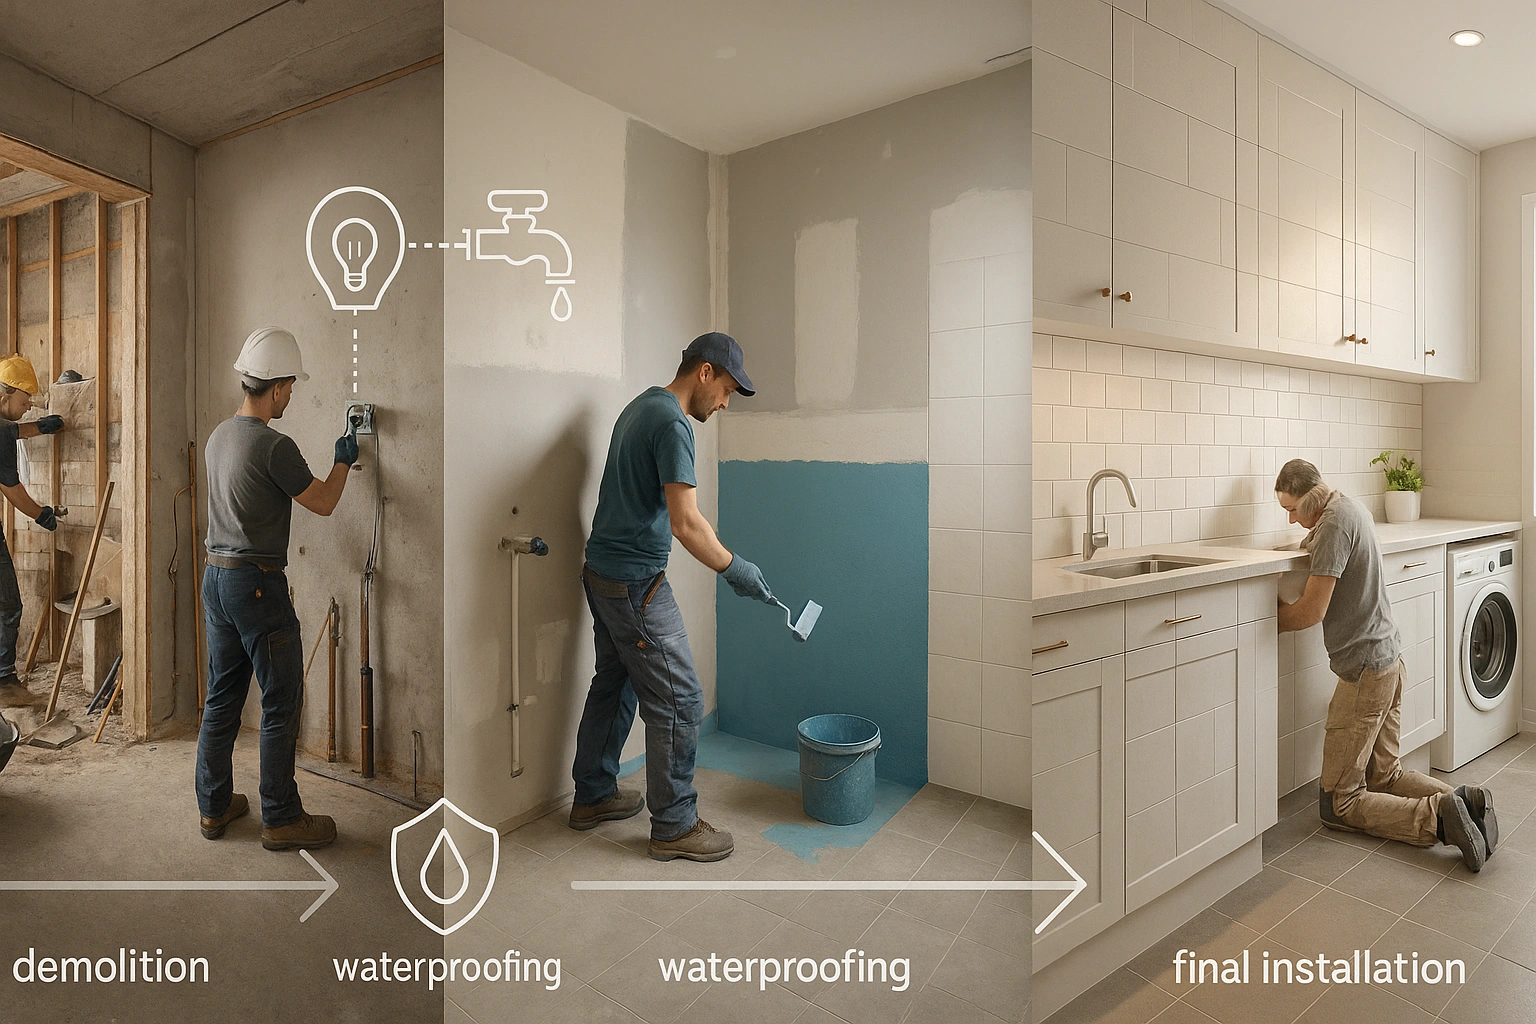
As you can see, while you can save a packet on jobs like painting and assembling flat-packs, the core electrical and plumbing work is strictly for licensed professionals.
The Final Stretch: Cabinets and Fit-Off
Now for the really exciting bit where your new laundry truly comes to life. Once the tiling is done and dusted, the cabinetry can be installed. Whether you've gone for custom joinery or a budget-friendly flat-pack option, the cabinets are installed first, followed by the benchtop.
With the benchtops in place, the project moves into the fit-off stage. This is where your plumber and electrician make a return visit to connect everything up.
- Plumbing Fit-Off: Your plumber will install the sink, connect the tapware, and hook up the washing machine taps.
- Electrical Fit-Off: The electrician connects the power points, light switches, and any new light fixtures you’ve chosen.
When you’re finalising the placement of your appliances, don't forget about ventilation, especially for the dryer. Ensuring you have a plan for proper dryer vent installation is crucial for both safety and the efficiency of the appliance.
The finishing touches are often the most satisfying part of the whole process. This is when you'll paint the walls, ceiling, and any trim. You'll also install the splashback and fit any final elements like open shelving or hanging rails.
To give you an idea of how much the sequence matters for planning, here’s a typical checklist to follow.
Project Timeline Checklist
This table breaks down the key phases and tasks into a logical order, helping you coordinate your trades and keep the project flowing without any hiccups.
| Phase | Key Tasks | Pro Tip |
|---|---|---|
| 1. Planning & Design | Finalise layout, select all materials, fixtures, and appliances. Obtain quotes and book trades. | Order long lead-time items like custom cabinetry or special-order tiles before you start demolition. |
| 2. Demolition | Disconnect services (water/power). Remove old cabinets, benchtops, tiles, and fixtures. | Have a skip bin ready on day one. Protect surrounding floors and rooms with drop sheets. |
| 3. Rough-In | Plumber and electrician run new pipes and wires in walls/floor. Any structural changes are made. | This is your last chance to add an extra power point or move a tap easily. Double-check placements. |
| 4. Wall & Floor Prep | Plastering and wall repairs are completed. Waterproofing membrane is applied by a certified pro. | Allow adequate drying time for waterproofing as specified by the manufacturer, don't rush this step. |
| 5. Tiling | Floor and wall tiles are laid, followed by grouting once the adhesive is fully cured. | Choose a grout colour that complements your tiles. Darker grout is often more forgiving in a high-traffic area. |
| 6. Cabinetry & Benchtops | Base and wall cabinets are installed, followed by the benchtop. | Check that cabinets are perfectly level before the benchtop goes on to avoid issues later. |
| 7. Fit-Off | Plumber installs sink, taps, and washing machine connections. Electrician installs lights and power points. | Test all taps and power points before the tradies leave the site. |
| 8. Finishing | Painting (walls, ceiling, trim). Splashback installation. Fit final accessories (shelves, hooks, rails). | Do the "final touches" painting after all the major installation work is done to avoid scuffs and marks. |
Following a clear, step-by-step plan like this is your best defence against budget blowouts and scheduling chaos, ensuring each trade has a clear workspace to do their job properly.
Your Budget Laundry Renovation Questions Answered
Even with a rock-solid plan, renovating your laundry on a budget can throw up a few tricky questions. Getting your head around these common queries will give you the confidence to make the best calls for your space and your wallet.
Let's break down some of the most frequent uncertainties homeowners face when they're trying to get the most bang for their buck.
How Can I Make My Small Laundry Feel Bigger Without Moving Walls?
Making a small space feel bigger is all about clever design tricks that fool the eye. You absolutely don’t need to knock down walls or spend a fortune on structural work to make a cramped laundry feel more open and usable.
Start with colour. A fresh coat of paint on the walls and cabinetry in a light, bright shade, think crisp white, a soft grey, or a pale neutral, instantly makes a room feel larger. It’s a simple trick, but it works by reflecting more light and making the walls visually recede.
Next, you need to think vertically.
- Floor-to-ceiling storage: Take your cupboards or open shelving right up to the ceiling. This draws the eye upwards and gives you a mountain of storage without chewing up any precious floor space.
- Stacked appliances: If your machines are compatible, stacking them is the ultimate space-saver. It’s amazing how much floor area you free up for things like a hamper or an extra cabinet.
- Strategic lighting: Don't underestimate good lighting. Bright, cool-toned LED downlights are a must. If you have overhead cabinets, adding some LED strip lighting underneath will eliminate shadows and make your workspace feel huge.
A well-placed mirror is another fantastic trick. It reflects light and the room itself, creating a dramatic sense of depth and openness for a very minimal cost.
Do I Need Council Approval for a Basic Laundry Renovation in Melbourne?
This is a big one for many people, but the good news is you probably won't need to get the local council involved for most cosmetic laundry renovations. Simple updates just aren't in the same league as work that requires a permit.
If you’re only making surface-level changes, you’re generally in the clear. This includes jobs like painting, replacing a benchtop in the same spot, swapping out taps like-for-like, or putting in new flat-pack cabinets where the old ones were.
However, the game changes the second your plans touch the core services of the room.
You will almost certainly need permits and licensed tradespeople if you want to:
- Move any plumbing, like shifting where your sink or washing machine taps are located.
- Alter electrical wiring to add or move power points.
- Make any structural changes, such as removing a wall or changing the size of a window.
It’s always best to have a quick chat with your local Melbourne council before you start, just to be safe. Rules can vary slightly between areas.
What Is the Best Investment for a Budget Laundry Renovation?
Hands down, the single best place to put your money for both functionality and visual appeal is in maximising your bench and storage space. These two things will completely change how you use the room day-to-day.
Even a small, continuous run of benchtop makes a world of difference for sorting and folding clothes. It turns the room from a utility closet into a proper workspace. And well-planned storage, which is easy to achieve with affordable flat-pack systems, gets rid of clutter and makes the whole space feel more efficient and enjoyable to be in.
Where Can I Find the Best Deals on Laundry Fixtures and Materials?
To get the most value, you need to be a savvy shopper and look beyond just one store. The best deals are often found when you mix and match from different places.
Big hardware stores like Bunnings Warehouse are great for their competitive prices on tiles, tapware, and their Kaboodle flat-pack cabinetry, keep an eye out for their sales.
Online retailers like Temple & Webster or Catch can have amazing prices on sinks and decorative items.
And don't write off Facebook Marketplace for quality second-hand finds like sinks or even leftover tiles from someone else's project.
Lastly, popping into dedicated tile warehouses or plumbing supply stores can unearth end-of-line stock at a serious discount.
Ready to transform your laundry with expert guidance and transparent pricing? At Smarter Home Renovations, we specialise in creating beautiful, functional spaces that fit your budget.
Contact Tony for a no-obligation consultation and see how we can bring your vision to life.