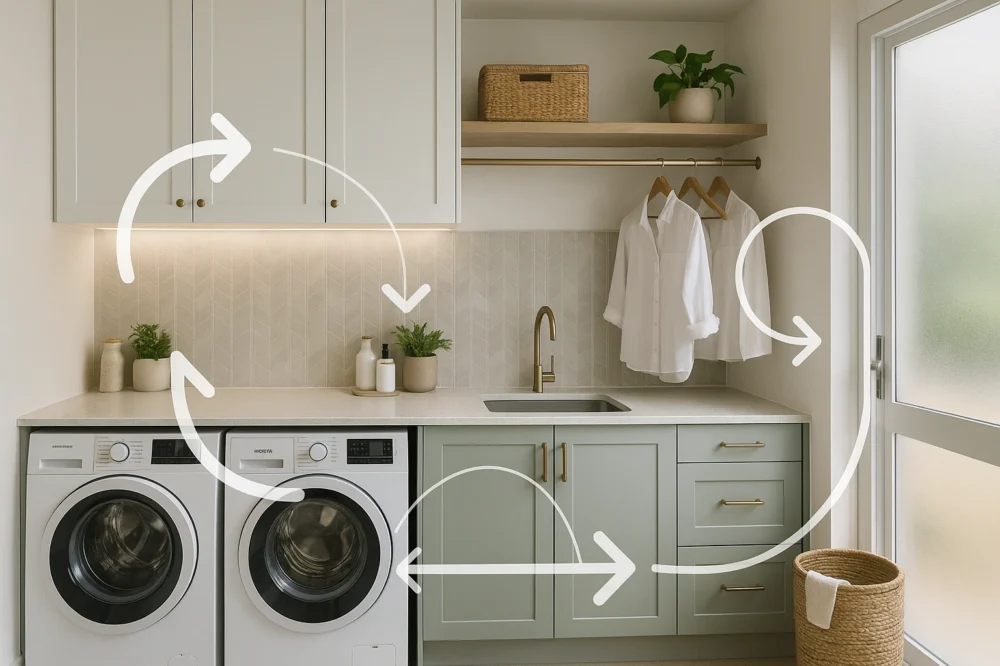
Transform your small laundry into a smart, stylish space. Get expert tips on layout, storage, and materials tailored for Melbourne homes.
A small laundry renovation can completely transform a forgotten utility area into a seriously functional space, adding real value and daily efficiency to your home. It’s a clever upgrade that tackles common frustrations like a lack of storage and a clunky workflow, turning even the most compact Melbourne corner into an organised, practical, and even stylish room.
Why a Small Laundry Renovation Is a Smart Move
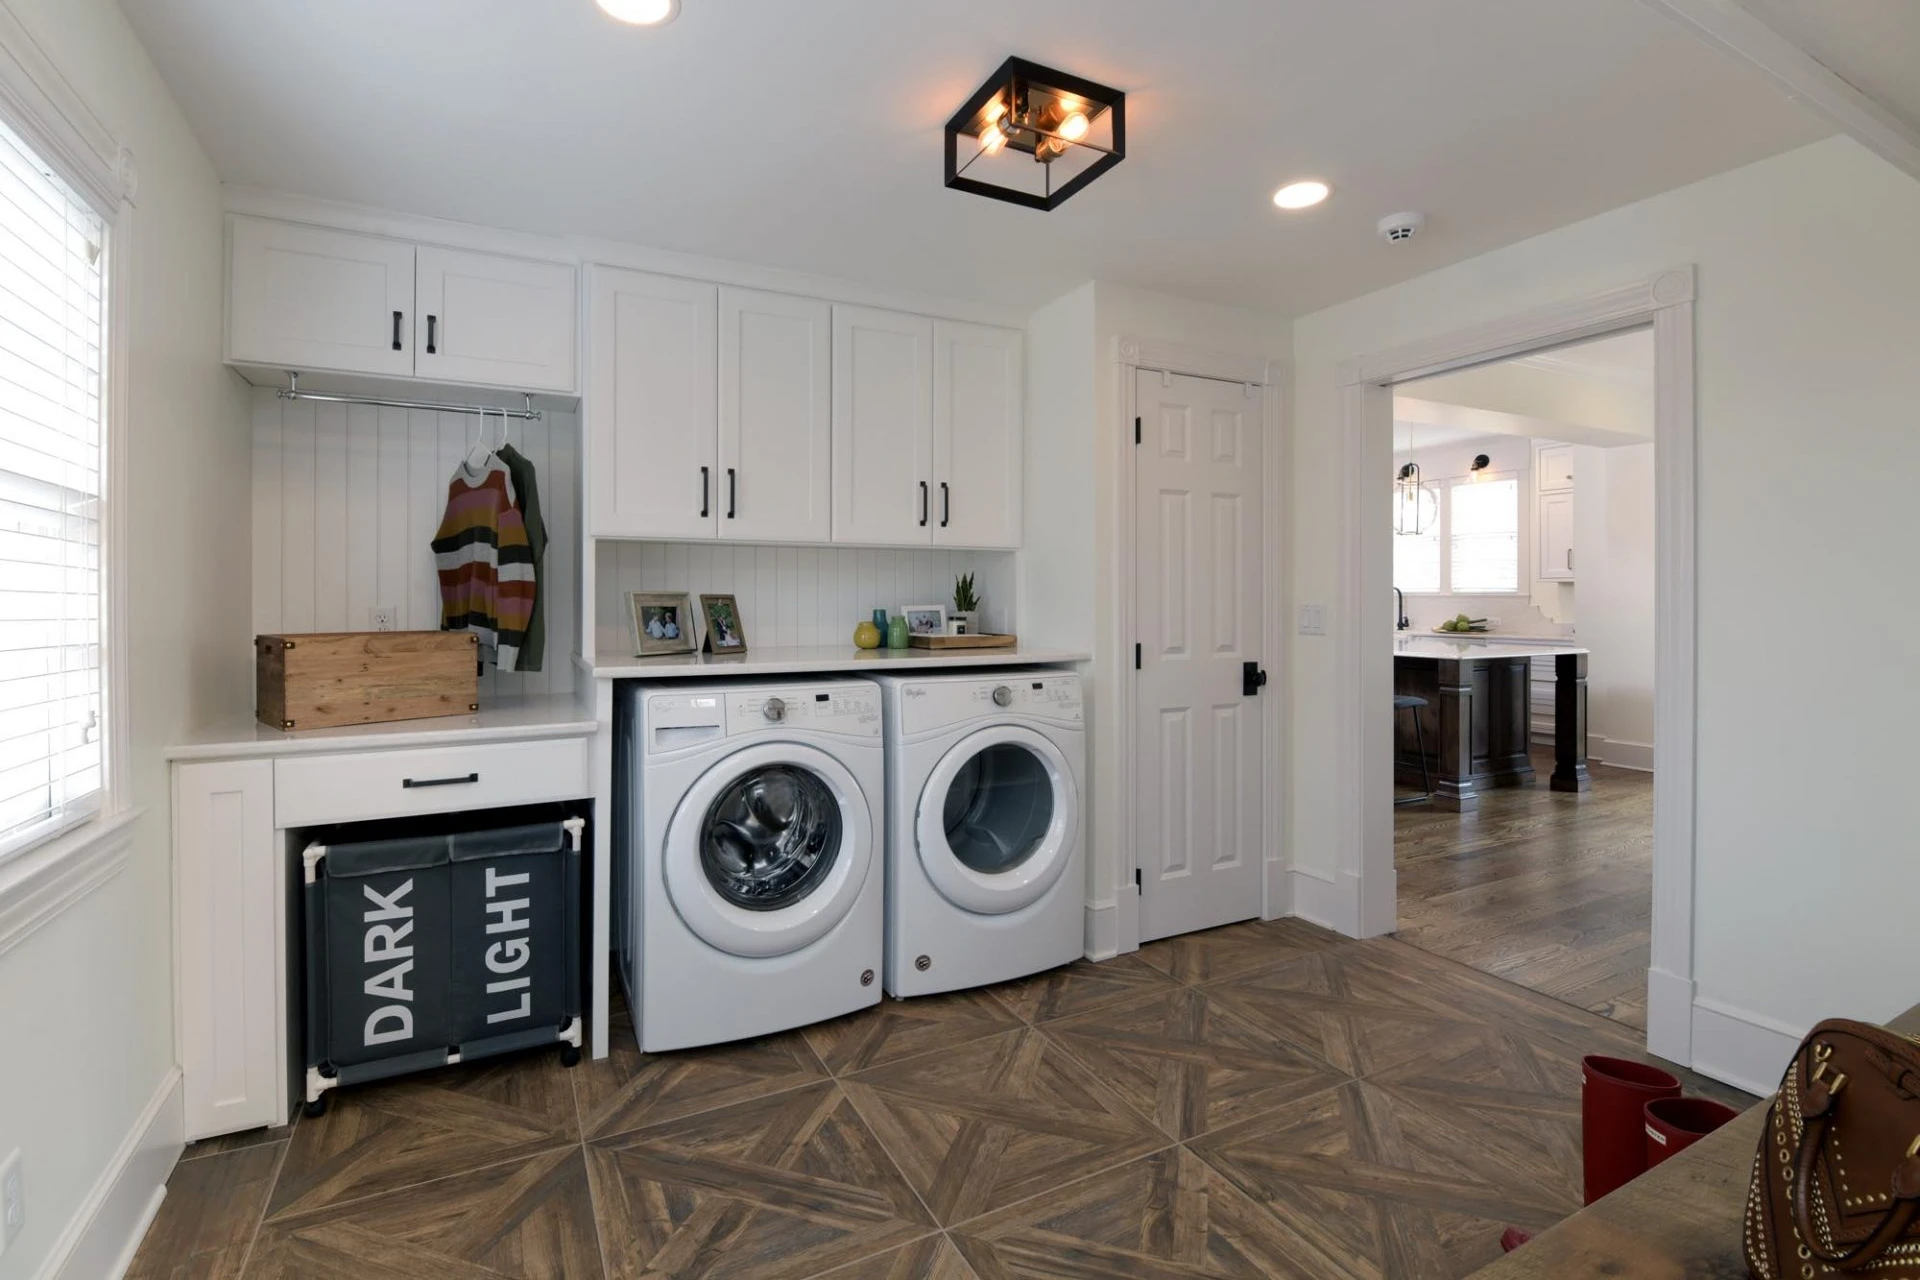
Let's be honest, the laundry is usually the last room anyone thinks about renovating. It’s tucked away, out of sight, and it’s all too easy to ignore its flaws, until you’re tripping over a basket or realising you have absolutely nowhere to fold clean clothes.
But a well-planned reno, even a small one, is one of the smartest investments you can make for your home's liveability. It’s really about bringing order to the chaos and making daily chores feel that little bit less of a drag.
The pain points are almost universal: zero bench space, poor ventilation that leaves the room feeling damp, and a messy jumble of detergents and cleaning supplies with no real home.
These aren't just cosmetic issues; they directly impact how your home functions every single day. A smart renovation tackles these problems head-on.
Defining Your Renovation Goals
Before you even think about picking out tiles or appliances, you need to get crystal clear on what isn’t working for you right now. Nailing down your specific needs is the key to creating a clear vision for your project.
- Functionality First: Do you need more bench space for sorting and folding? A dedicated spot to tuck away an ironing board? Or just better access to your washer and dryer?
- Storage Solutions: Are you after sleek, concealed storage to hide the clutter, or maybe some open shelving for a more airy, modern feel? Think about clever options like pull-out hampers or full-height cupboards.
- Improving Workflow: Does the current layout make any sense? A great laundry has a seamless flow, from sorting dirty clothes to washing, drying, and finally, folding.
- Ventilation and Lighting: A stuffy, dark laundry is just unpleasant to be in. Upgrading to a proper exhaust fan or adding better lighting can completely change the atmosphere of the space.
This focus on fixing real-world problems is what drives most homeowners. In fact, roughly one in every three Australian households undertakes some form of renovation work, and you can bet that insufficient bench space and poor ventilation are common reasons for a laundry upgrade.
A great small laundry renovation isn't just about making the room look better, it's about making it work better. By reclaiming unused vertical space and choosing smart, compact solutions, you can create a powerhouse of efficiency in a tiny footprint.
Even the smallest nooks, like a European-style laundry hidden in a cupboard or a narrow hallway, can be completely reimagined. For those lucky enough to have the option, exploring clever outdoor laundry ideas can also free up valuable real estate inside. Ultimately, a thoughtful renovation turns a forgotten utility zone into a valuable home asset.
Designing a Layout for Maximum Functionality
The success of any small laundry renovation comes down to a clever layout. When you're working with a compact space, every centimetre counts, and a smart plan is what separates a frustrating, cluttered closet from a seriously functional work zone.
It’s all about creating a workflow that makes sense for how you actually do the laundry. Think about the journey from the dirty clothes hamper, to the washing machine, to the dryer, and finally to a clear surface for folding. Without that logical flow, even the most beautiful renovation will quickly become a headache.
If your daily laundry routine feels like a constant battle against the space, a renovation is probably a wise move.
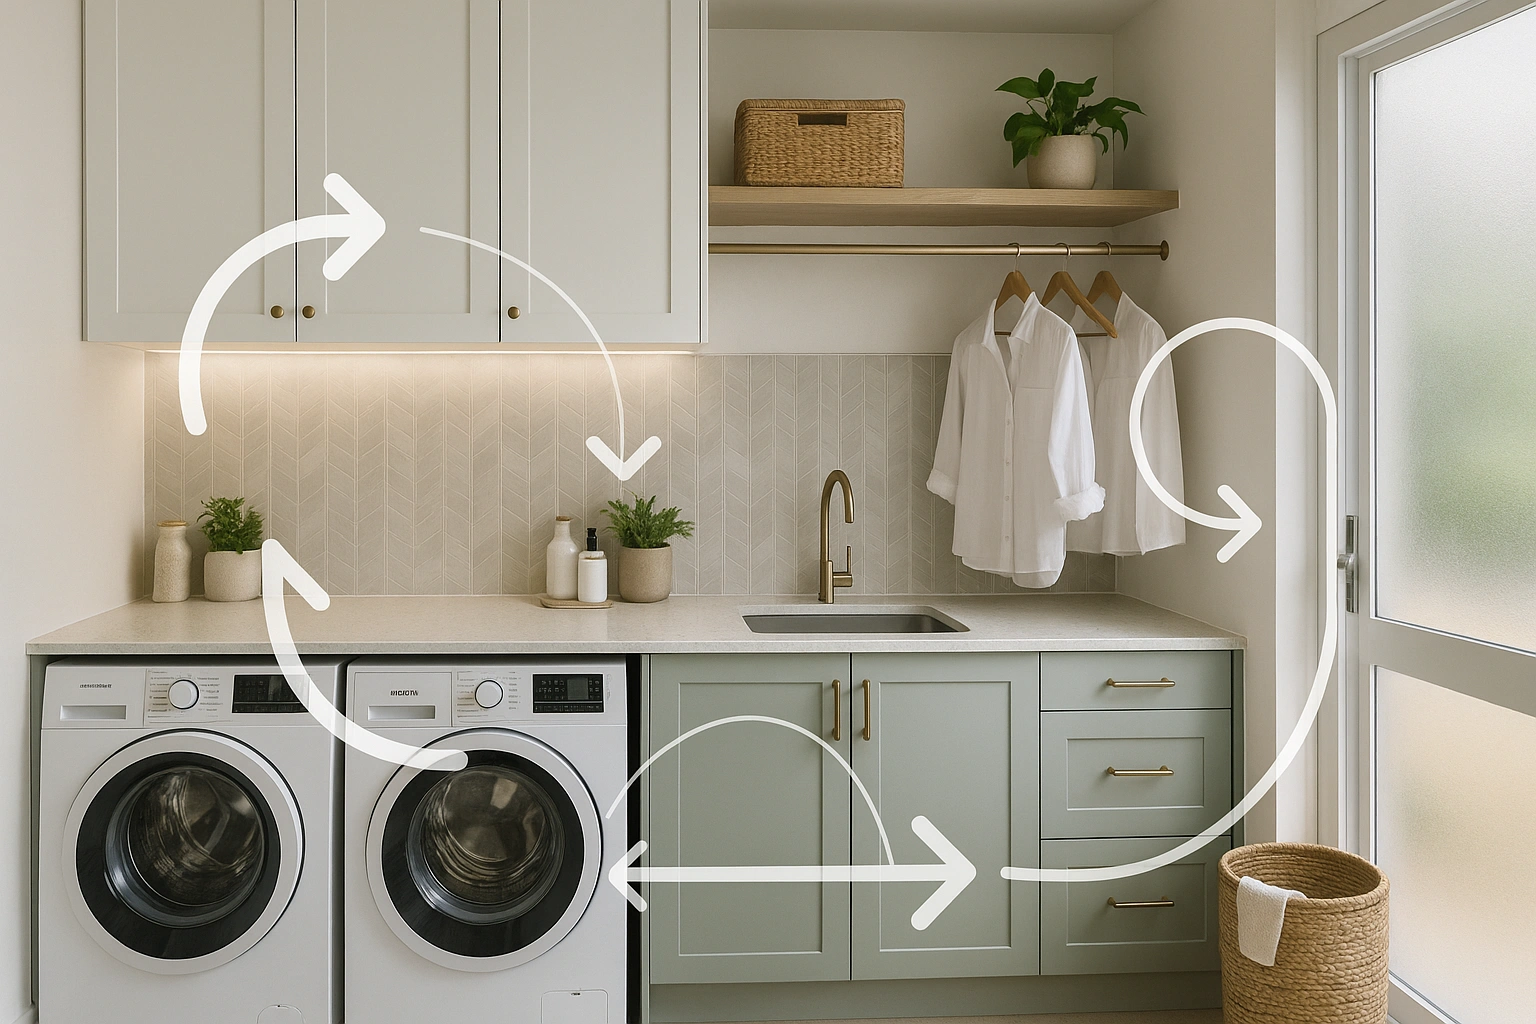
As the flowchart shows, ongoing frustrations with your laundry’s basic function are a key sign that a renovation will add real value and make your daily life easier.
Common Layouts for Small Spaces
In Melbourne, where space is often a luxury, a few tried-and-true layouts have become popular for their sheer efficiency. Each one has its own strengths, depending on the room's shape and your family's needs.
- Single-Wall Laundry: This is the most straightforward design, lining up all your appliances and cabinetry along one wall. It’s perfect for narrow rooms or converting part of a hallway, creating a clean, streamlined look.
- Galley Laundry: By using two parallel walls, this layout can effectively double your storage and bench space. It’s a great option for pass-through areas, but make sure you leave at least 900mm of clearance in the middle to move around comfortably.
- European Laundry: The ultimate space-saver. This clever design tucks the entire laundry away behind bifold or sliding doors, often hidden within a kitchen or hallway. It's a brilliant solution for apartments or homes that don't have a dedicated laundry room.
Your layout choice has to be guided by your real-world workflow. Picture yourself doing a load of laundry: is there a spot next to the washer to sort clothes? Is there room to unload the dryer without everything ending up on the floor? These practical questions are what matter most.
Choosing the right layout is a critical first step. Below is a quick comparison to help you weigh the options for your home.
Compact Laundry Layout Comparison
| Layout Type | Best For | Typical Footprint | Pros | Cons |
|---|---|---|---|---|
| Single-Wall | Narrow rooms, hallways, open-plan areas | 1.5m - 2.5m wide | Space-efficient, clean aesthetics, cost-effective | Limited bench space and storage |
| Galley | Pass-through spaces, dedicated narrow rooms | 1.8m - 2.5m wide | Maximises bench and storage, efficient workflow | Can feel enclosed, requires minimum clearance |
| European | Apartments, kitchens, hallways, tight spaces | 0.8m - 1.5m wide | Hides clutter, ultimate space-saver, versatile | Limited workspace, can be noisy in living areas |
Each of these layouts offers a solid foundation, but the real magic happens when you start customising it to your needs.
To Stack or Not to Stack?
One of the biggest decisions you'll make in a small laundry reno is whether to stack your washer and dryer or place them side-by-side.
Putting your appliances side-by-side under a continuous benchtop is a total game-changer. It instantly gives you a large, usable surface for folding and sorting, a luxury that’s often missing in small laundries. Of course, this arrangement only works with front-loading machines.
On the other hand, stacking your appliances is the undisputed champion of maximising vertical space.
This move frees up valuable floor area for a tall storage cabinet, a sink, or just an open spot for laundry baskets.
Exploring professional strategies for incorporating stacked washer dryers in tight spaces can unlock some seriously smart solutions. This vertical approach is often the heart of a great European laundry design.
Integrating the Essentials
Beyond the big machines, a truly functional laundry needs a few other key elements worked into the layout. A deep sink is incredibly handy for soaking stains or hand-washing delicates, but you need to make sure it doesn’t gobble up all of your precious bench space.
Look for clever additions that don't take up permanent real estate.
A pull-out or retractable hanging rail offers drying space when you need it and vanishes when you don’t.
A slim rolling cart can slide perfectly into the gap between your appliances, creating hidden storage for detergents and supplies. It’s these small, thoughtful details that take a layout from good to great.
Keep in mind that any layout changes involving moving water supply lines or drains will affect your project's plumbing. It's a good idea to understand what’s involved in a plumbing rough-in for renovations before finalising your plans.
Selecting Durable Materials and Smart Appliances
Once you've got a functional layout mapped out, it's time to choose the hardworking components that bring your small laundry renovation to life. A laundry is a zone of constant moisture, heat, and activity, so your material and appliance selections are absolutely crucial for long-term performance.
The right choices won’t just look great, they’ll stand up to the daily grind of spills, knocks, and constant use. This is where practicality should always take the lead, ensuring your investment serves you well for years to come.
Choosing Your Hardworking Surfaces
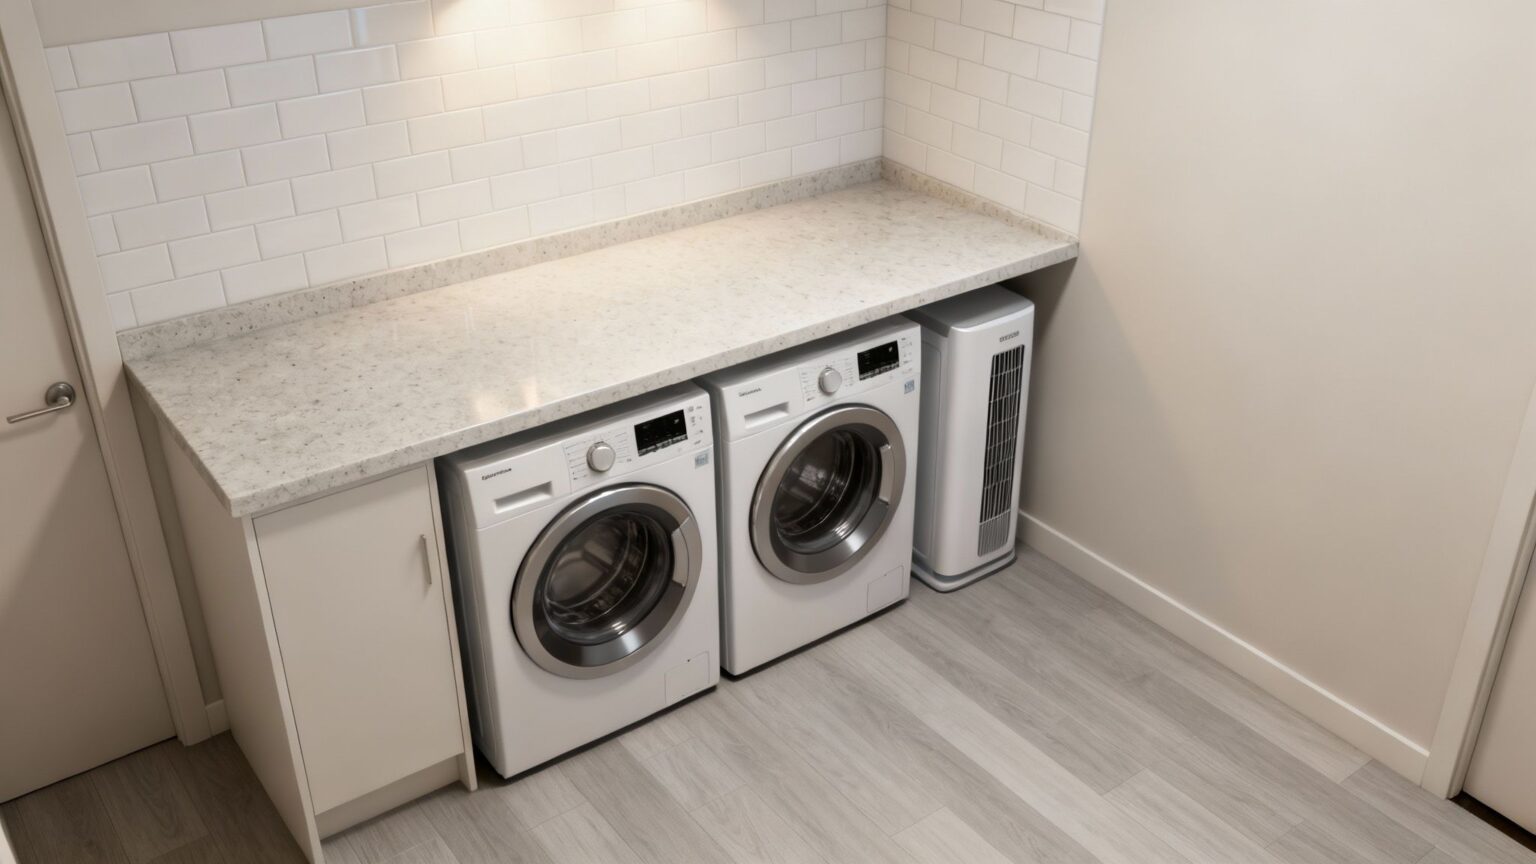
Benchtops, splashbacks, and flooring are the surfaces that bear the brunt of laundry day. They need to be tough, water-resistant, and, most importantly, easy to clean.
A laminate benchtop is a fantastic, budget-friendly option that has come a long way in recent years. Modern laminates offer excellent water resistance and durability, making them a smart pick for a functional laundry space.
For a step up in toughness, engineered stone is a popular favourite in Melbourne homes.
It's non-porous, virtually scratch-proof, and effortlessly handles water and detergents, giving you a premium finish that's built to last.
Your splashback is there to protect the wall behind your sink and machines. Porcelain or ceramic tiles are classic, hard-wearing choices that come with endless design possibilities.
For flooring, durability and slip resistance are key. We often recommend materials like:
- Porcelain Tiles: Incredibly tough, completely waterproof, and a breeze to maintain.
- Luxury Vinyl Planks (LVP): These offer a warmer, softer feel underfoot while still being waterproof and highly resistant to scuffs and scratches.
Think of your laundry surfaces as a complete system. The goal is to create a sealed, waterproof "box" at the lower level of the room. This ensures that any spills or leaks are contained and won't cause damage to your cabinetry or subfloor.
Selecting Smart Appliances for Small Spaces
In a compact laundry, your appliances need to do more than just wash and dry; they have to contribute to the overall efficiency of the room.
The right models can unlock valuable bench space, reduce your energy bills, and just make your laundry routine simpler.
For most small laundry renovations, the decision starts with a front-loading washing machine.
Their design is a real game-changer because it allows you to run a continuous benchtop directly over the top, instantly creating that much-needed folding and sorting area.
From there, consider these modern appliance options:
- Heat Pump Dryers: These are the gold standard for energy efficiency. Instead of venting hot, moist air outside, they recycle it, capturing water in a reservoir. This dramatically cuts down on humidity and can slash your dryer's energy use by more than 50% compared to traditional models.
- Condenser Dryers: A good middle-ground option, condenser dryers also collect moisture internally, so they're perfect for spaces without external venting. They are generally more affordable upfront than heat pump models.
- Washer-Dryer Combos: An all-in-one unit is the ultimate space-saver, ideal for tiny European laundries or apartments. While their drying cycles can take a bit longer, they offer unmatched convenience in a single footprint.
To keep your new smart appliances running safely and at their best, it’s worth checking out these easy DIY dryer vent cleaning tips for regular maintenance. Keeping those vents clear is essential for performance and fire prevention, especially if you have a vented model.
Pulling It All Together with Fixtures
Finally, don't overlook the smaller details like your tapware and sink. A gooseneck tap provides plenty of clearance for filling buckets or soaking bulky items. And a deep, robust sink, whether it's stainless steel or a composite material, is an invaluable addition for tackling tough stains and all those handwashing tasks.
By carefully selecting durable materials and smart, space-savvy appliances, you create the backbone of a laundry that isn't just stylish, but incredibly functional and built to withstand the realities of daily family life.
Mastering Storage with Clever Cabinetry
In any small laundry renovation, clutter is the enemy. There’s nothing worse than tripping over laundry baskets or digging through a jumble of bottles to find the stain remover.
This is where clever cabinetry comes in, transforming your laundry from a chaotic utility zone into a serene, organised workspace.
Good storage isn't just about cramming in more cupboards. It’s about creating a smart system where everyday essentials are within easy reach and less-used items are neatly tucked away.
Get this right, and your small laundry will feel twice as big.
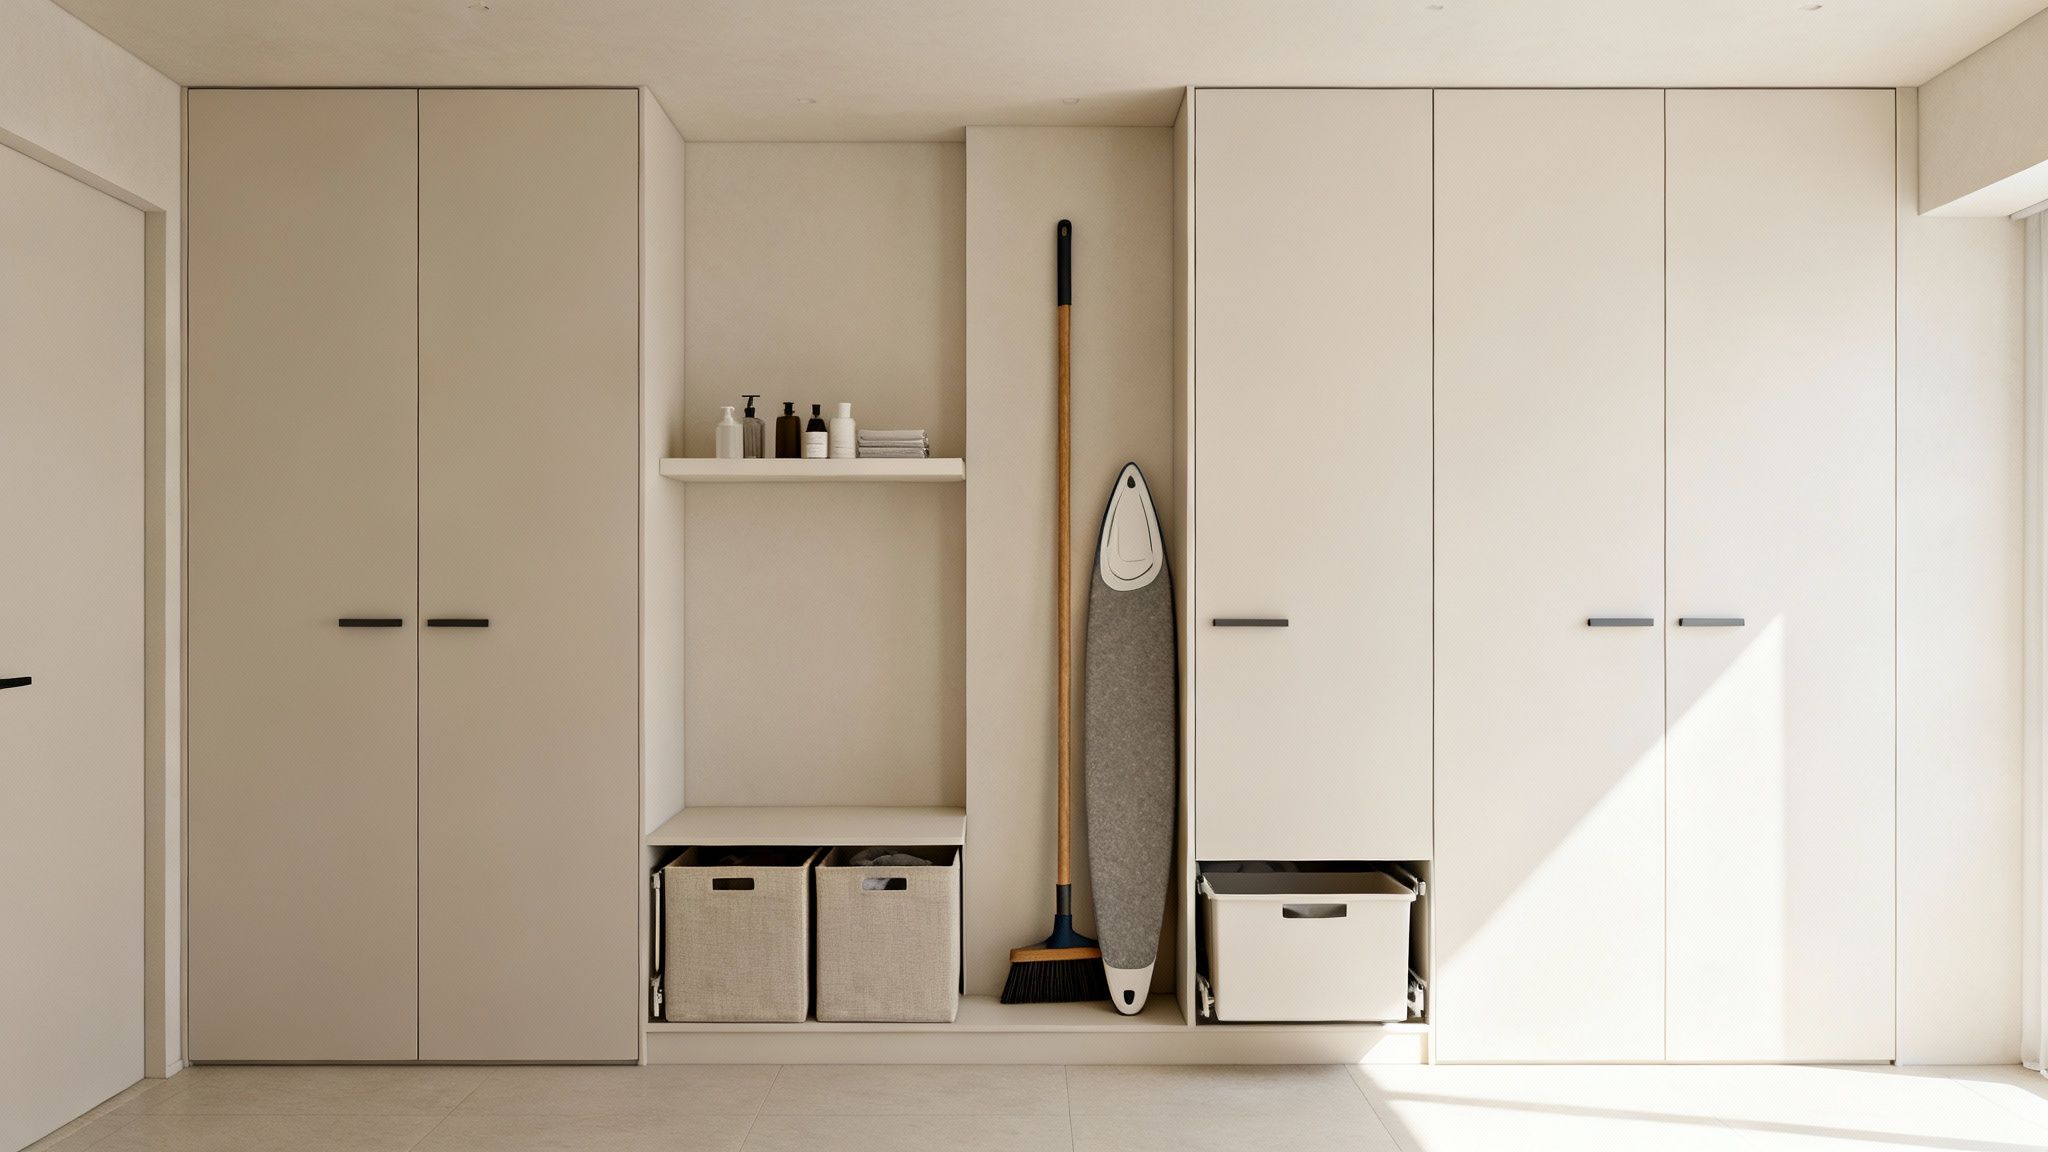
Custom Joinery Versus Flat-Pack Cabinets
One of the first big decisions you'll face is whether to go with custom joinery or off-the-shelf flat-pack cabinets. Your choice really boils down to your budget and the specific quirks of your room.
Flat-pack cabinets are a fantastic budget-friendly option and can work beautifully in standard-sized rooms.
They offer a straightforward way to get basic storage sorted. The downside? In an awkward or unusually shaped space, you can end up with clunky filler panels and dead corners, a huge waste in a room where every centimetre counts.
Custom joinery, on the other hand, is made to measure.
A skilled cabinet maker can design solutions that use every single millimetre of your space, turning a tricky nook into a storage powerhouse. This is where the real value lies for small laundry renovations.
While custom cabinetry has a higher upfront cost, the payoff in pure functionality and a seamless, high-end finish is often worth it, especially in compact or challenging layouts.
Going Vertical to Maximise Space
When you can’t build outwards, the only way to go is up. Using your vertical space is the secret to unlocking a surprising amount of storage potential in a tiny laundry.
Floor-to-ceiling cabinetry is an absolute game-changer.
These tall cupboards are perfect for giving a home to those awkward, bulky items that are always in the way. Think about a dedicated tall, narrow cabinet just for your ironing board and broom, out of sight, but right there when you need them.
The upper sections are ideal for things you don't use daily, like spare linens or bulk cleaning supplies.
Here are a few vertical strategies to consider:
- Tall Cabinets: The perfect hideaway for brooms, mops, and that pesky ironing board.
- Stacked Upper Cabinets: Run your cupboards right to the ceiling to claim all that unused airspace.
- Open Shelving: A few floating shelves placed higher up the wall can hold decorative baskets for smaller items, adding a bit of style without overwhelming the room.
Innovative Ideas Beyond Basic Cupboards
Truly great laundry storage moves beyond just standard shelves and drawers.
Modern cabinetry offers a whole host of clever features designed to make life easier and keep your space perfectly organised. These are the little details that elevate a good laundry into a great one.
Instead of generic cupboards, think about integrating features with a specific job. A pull-out drawer with built-in hampers, for example, can keep dirty clothes sorted and completely hidden. No more laundry baskets cluttering up the floor.
Here are a few other smart ideas to chat about with your renovator:
- Pull-Out Shelves: A must-have for deep base cabinets. They let you easily reach items at the back without having to unpack the whole thing.
- Drawer Dividers: Customisable dividers create designated spots for everything from stain removers to spare pegs, stopping your drawers from becoming a chaotic mess.
- Integrated Hanging Rails: A simple retractable rail can be built into your cabinetry, giving you a discreet spot to air-dry delicates.
- Skinny Rolling Carts: Got a narrow gap next to your washing machine? A slim pull-out cart is a brilliant way to use that awkward space for detergents and softeners.
By mixing these clever solutions with a smart vertical strategy, you can design a cabinetry system that not only holds everything you need but actually makes your laundry routine smoother. This kind of thoughtful planning is the key to creating a small laundry that is as functional as it is beautiful.
Budgeting and Managing Your Renovation
A clear budget and a solid plan are your two best friends in any laundry renovation. Without them, even a small project can quickly blow out with surprise costs and frustrating delays.
Getting your finances and timeline sorted from the very beginning means you stay in control and get the result you want, without the financial headache.
This guide will give you a realistic picture of what to expect when renovating a compact laundry in Melbourne, helping you make smart decisions at every turn.
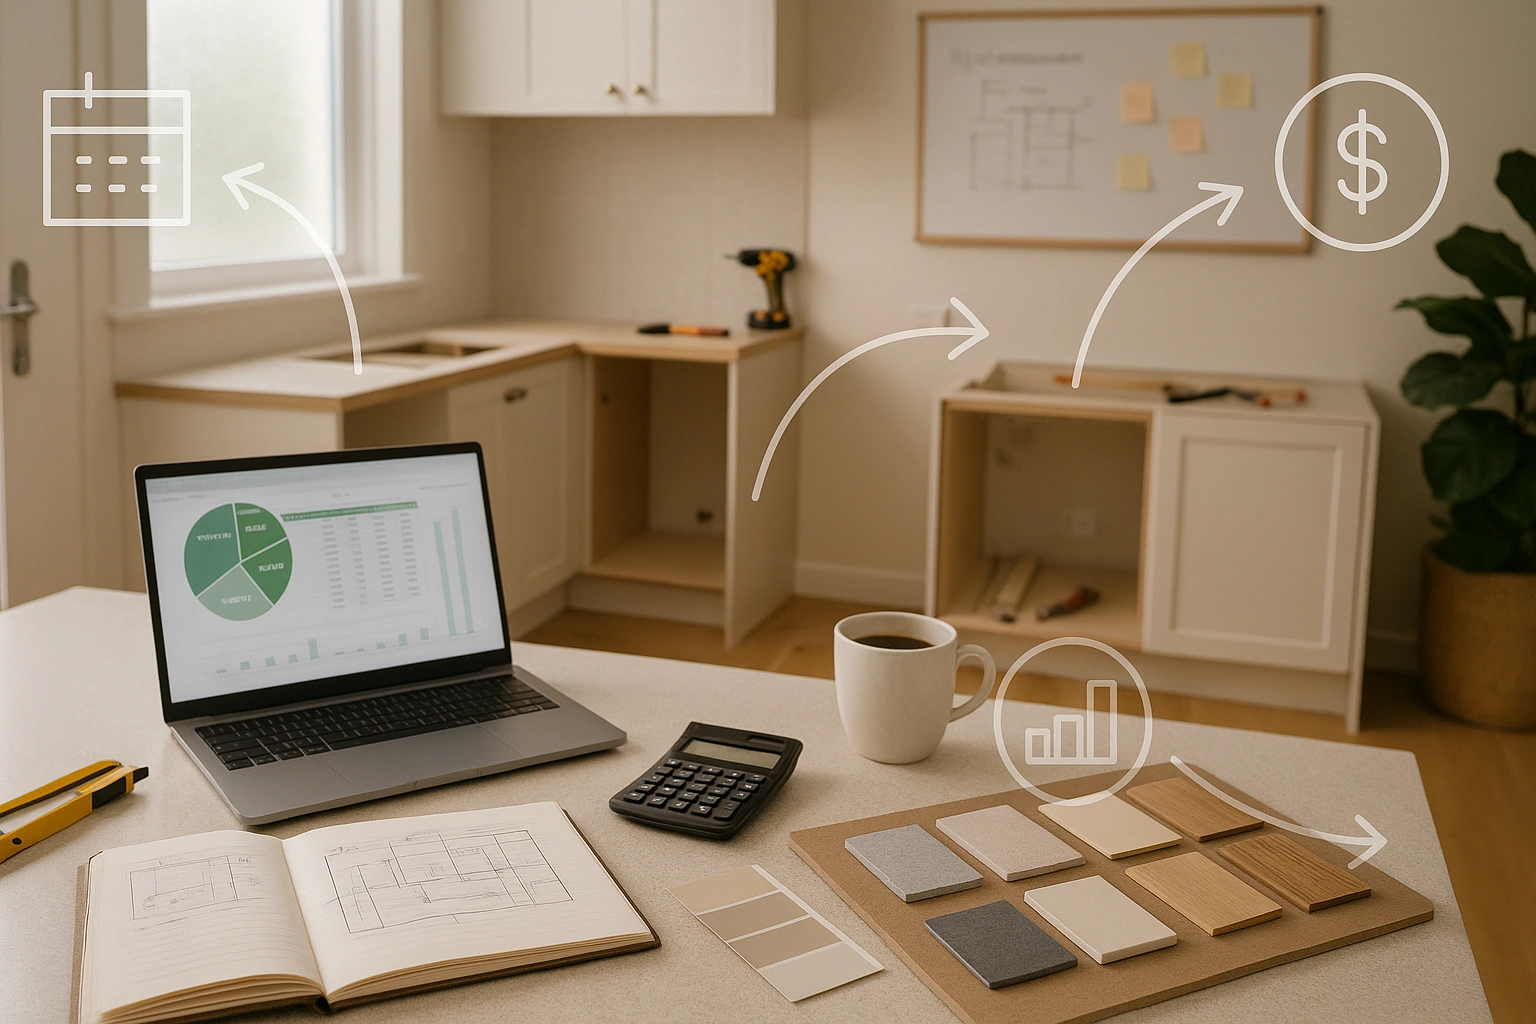
Understanding the Costs of a Small Laundry Renovation
The first question everyone asks is, "So, what's this actually going to cost me?"
The honest answer? It really depends on the scope of your project. A simple cosmetic refresh is a world away from a complete overhaul that involves shifting plumbing and rewiring electricals.
Generally, laundry renovation costs fall into a few clear tiers. Industry figures show most projects in Australia land somewhere between $5,000 and $25,000.
This range covers:
- Cosmetic updates from $5,000 to $10,000
- Mid-range renovations between $10,000 and $18,000
- High-end custom projects that can easily top $18,000
Breaking Down the Budget for a Mid-Range Project
Let’s get practical. For a typical mid-range small laundry renovation here in Melbourne, it’s really helpful to see where the money usually goes. This is where you can start to spot areas to invest more, or perhaps pull back a little.
A classic mistake we see is people underestimating the cost of licensed trades. Plumbing and electrical work aren't areas to cut corners, they are non-negotiable for safety and compliance, so always earmark a decent slice of your budget for qualified professionals.
Here’s how a budget for a standard mid-range project often shakes out.
Estimated Budget Breakdown For A Small Laundry Renovation
To give you a clearer picture, this table breaks down the typical allocation of funds for a mid-range small laundry renovation costing between $10,000 and $18,000.
| Expense Category | Estimated Percentage of Budget | Notes & Considerations |
|---|---|---|
| Cabinetry & Joinery | 30% - 40% | Often the biggest ticket item. Custom joinery costs more but is brilliant for maximising tricky spaces. |
| Licensed Trades | 20% - 25% | Covers your plumber, electrician, and waterproofing specialist. Don't skimp here! |
| Appliances | 15% - 20% | Costs vary wildly depending on brands and features like heat pump dryer technology. |
| Tiling & Flooring | 10% - 15% | This includes both the materials (tiles, grout, etc.) and the tiler's labour. |
| Fixtures & Fittings | 5% - 10% | Your sink, tapware, lighting, and all the cabinet hardware fall into this category. |
| Contingency Fund | 10% | An absolute must-have. This is your buffer for any unexpected surprises you find after demolition. |
This breakdown should give you a solid starting point for planning your spend. For a wider view, you can see how these figures stack up against our detailed guide on the overall cost of renovation in Melbourne, which puts laundry costs into the broader context of home improvement projects.
Mapping Out a Realistic Project Timeline
Knowing the sequence of events is just as vital as setting the budget. Good coordination of trades is what keeps a renovation on track and prevents expensive downtime where nothing is happening. Thankfully, a small laundry renovation can be turned around relatively quickly with smart planning.
Here’s the typical order of play:
- Design & Planning (1-2 weeks): Nail down your layout, choose every material and fitting, and get quotes locked in with your trades.
- Demolition & Prep (1-2 days): The old laundry gets stripped out, and the space is prepped for the new work.
- Rough-In (2-3 days): Your plumber and electrician come in to run new pipes and wiring inside the walls before any plaster goes up.
- Plastering & Waterproofing (3-4 days): Walls are sheeted, and crucial waterproof membranes are applied. This stage needs proper drying time.
- Tiling (2-3 days): The fun part! The floor and any splashbacks are tiled and grouted.
- Cabinetry & Benchtop Install (1-2 days): Your joinery is fitted into place, followed by the benchtop.
- Fit-Off (2-3 days): The plumber and electrician return to connect appliances, install the sink, tapware, and light fittings.
- Painting & Final Touches (1-2 days): The final coat of paint goes on, and handles or any other last bits of hardware are installed.
All up, this process can take anywhere from two to four weeks, depending on how complex the job is and the availability of your chosen trades.
Navigating Melbourne-Specific Requirements
Finally, a quick word on local compliance. For most cosmetic laundry spruce-ups where you're not moving walls or changing plumbing locations, you generally won't need a building permit from your local Melbourne council.
However, if your renovation involves structural changes or significant alterations to plumbing and drainage, a permit is almost certainly required.
Always use licensed and insured tradespeople for any plumbing, electrical, or waterproofing. This isn't just a suggestion, it's a legal requirement in Victoria to ensure the work is safe, compliant, and meets Australian Standards.
Got a Question About Your Small Laundry Reno?
When you're diving into a renovation, it's natural for questions to pop up. Even with the best plans, you might wonder about council rules, the right materials, or how to make the most of your compact space. We get it.
Here are the straightforward answers to the questions we hear most often from Melbourne homeowners, designed to give you clarity and confidence.
While every laundry project has its own unique quirks, many of the same challenges come up time and again.
Sorting these out early is the best way to save yourself time, money, and a few headaches down the track.
Do I Need a Council Permit for My Renovation?
This is one of the first and most important questions people ask. For most simple, cosmetic updates, the answer is no. If you're just replacing cabinets, putting in a new benchtop, or swapping out your washer and dryer in the same location, you will not need a permit from your local council.
However, the game changes as soon as your plans involve anything structural. You'll almost certainly need to chat with your council if your renovation includes:
- Moving or knocking out walls.
- Making significant changes to where your plumbing and drains are located.
- Altering the fundamental structure or purpose of the room.
The smartest first move is always to check with a registered builder or your local council before you start any work that touches your home's core structure or services. It just ensures everything is done by the book.
What Is the Best Way to Improve Ventilation?
In a laundry, especially a small one, good ventilation isn't a 'nice-to-have', it's a must. It is your single best defence against mould, mildew, and that lingering damp smell.
The most effective fix is to install a ducted exhaust fan.
This actively pulls all the moist air from your dryer and the room and vents it directly outside. It's the gold standard for keeping your air quality healthy.
If you're in an apartment or a home where external venting isn't an option, a heat pump or condenser dryer is a fantastic alternative. These clever machines capture moisture internally rather than pumping it out into your laundry.
An open window definitely helps, but it’s a passive solution. For a room that constantly deals with steam and moisture, investing in mechanical extraction is crucial for protecting the long-term health of your home.
Should I Choose Custom Joinery or Flat-Pack Cabinets?
This decision usually boils down to your budget and the specifics of your room.
Flat-pack cabinets are a fantastic, budget-friendly option and can look brilliant in standard-sized rooms with straightforward layouts. They deliver great value and get the job done without fuss.
Custom joinery, on the other hand, really comes into its own in those awkward, tight, or oddly shaped spaces we often see in Melbourne homes.
It’s built precisely to your room's measurements, meaning every single millimetre is put to good use for a seamless, high-end finish with zero wasted space.
For those really challenging compact laundries, the upfront investment in custom work almost always pays off in superior long-term function.
What Are the Most Durable Materials for a Laundry Benchtop?
A laundry is a high-traffic, high-moisture zone, so you need a benchtop that can take a beating. Your choice here makes a big difference to both the look and the lifespan of your renovation.
Laminate is your most cost-effective choice, and for the price, its water resistance and durability are fantastic. Modern laminates have come a long way in style and toughness, making them a very practical pick.
For a step up in performance, engineered stone is a popular upgrade for a good reason.
It’s non-porous, meaning it won’t stain, and it’s incredibly resistant to scratches and chips. It gives you a bulletproof surface that will look brand new for years.
While beautiful, solid timber benchtops are a bit more high-maintenance in a wet area like a laundry, as they need to be diligently sealed and looked after to prevent water damage.
Ready to turn your ideas into a perfectly planned and executed renovation? The team at Smarter Home Renovations has been delivering high-quality, practical laundry solutions across Melbourne for over 20 years.
Contact us today for a free consultation and a transparent quote.