This practical bathroom renovation checklist is for Melbourne homes in 2025. Learn timelines, budget tips, and the must do steps for success.
Embarking on a bathroom renovation in Melbourne is an exciting journey toward creating a space that's both functional and a personal sanctuary. However, without a clear plan, the process can quickly become overwhelming. From navigating Victorian Building Authority (VBA) requirements to coordinating various trades and selecting the perfect finishes for your home, every detail matters. This comprehensive bathroom renovation checklist is designed to guide you through each critical phase, ensuring a smooth, on-budget project from initial concept to final polish.
This guide moves beyond generic advice. We will break down the ten essential stages of a successful renovation, providing actionable insights and expert tips to help you avoid common pitfalls. You'll learn how to establish a realistic budget, plan a functional layout, select durable materials, and manage the entire construction process efficiently. With over 20 years of experience in Melbourne, our team at Smarter Home Renovations knows what it takes to deliver a stunning result. This list shares that expertise directly with you, providing a clear roadmap for transforming your bathroom with confidence. We've structured this checklist to be your go-to resource, whether you're undertaking a small update or a complete structural overhaul.
1. Establish Your Budget and Project Timeline
Before selecting a single tile or tap, the first critical step in any successful bathroom renovation checklist is to define your financial and time-based boundaries. Establishing a clear budget and a realistic timeline provides the essential framework that will guide every decision, from material selection to hiring tradespeople. This foundational phase prevents scope creep and ensures your project remains on track and within your means.
For a Melbourne-based project, your budget must account for local costs of labour, materials, and potential heritage overlays common in older suburbs. A standard bathroom update can range from $18,000 to $25,000, while a premium renovation involving structural changes will likely exceed $35,000. It's crucial to obtain multiple detailed quotes from registered builders to understand the market rate accurately. For a deeper dive into financial planning, you can learn more about understanding bathroom renovation costs in Melbourne.
Actionable Tips for Budgeting and Timeline Planning:
- Secure 3 Detailed Quotes: Contact reputable, registered builders to get comprehensive quotes. This helps establish fair market pricing and allows you to compare inclusions and exclusions.
- Build a Contingency Fund: Always set aside 15-20% of your total budget for unforeseen issues. Older Melbourne homes can hide surprises like water damage or outdated plumbing that only become apparent after demolition.
- Create a Timeline Spreadsheet: Factor in all stages, including council permit processing (which can take 2-6 weeks), material lead times from Australian suppliers, and the sequential scheduling of trades like plumbers, electricians, and tilers. A standard renovation typically takes 4-6 weeks, but this can extend to 8-12 weeks for complex projects.
2. Plan Layout and Design
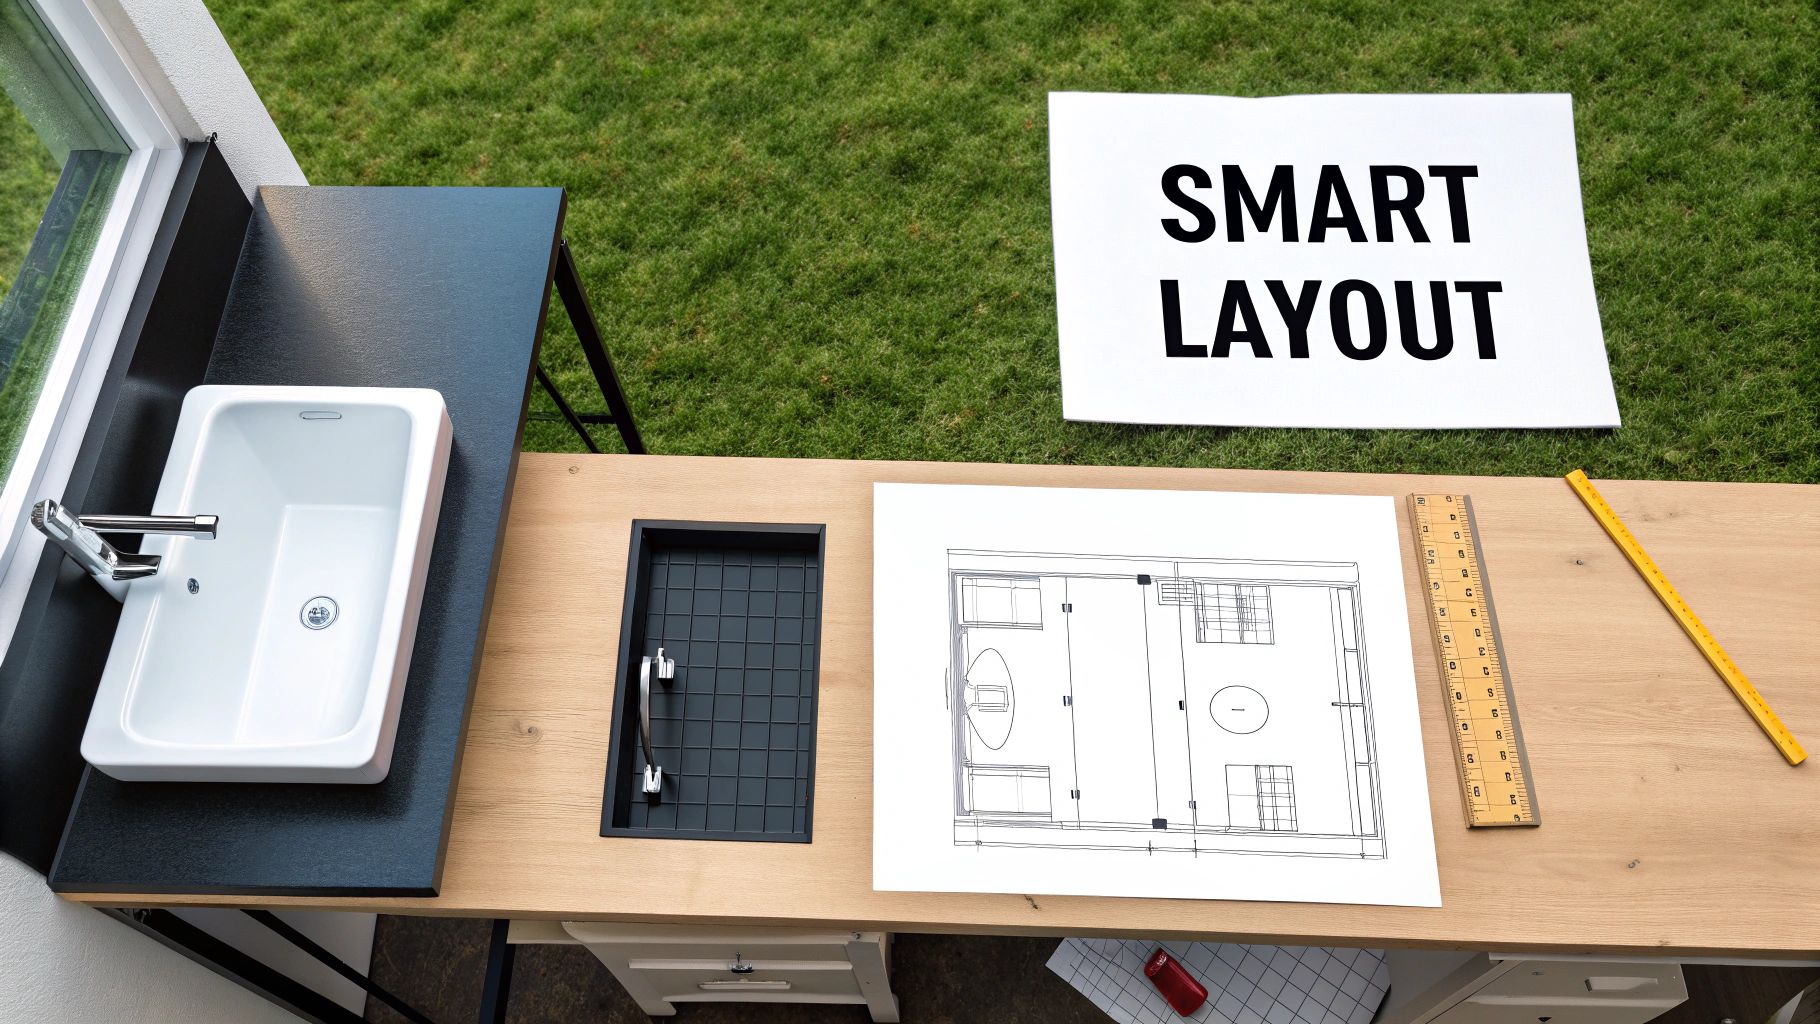
With your budget and timeline set, the next critical item on your bathroom renovation checklist is to finalise the layout and design. Strategic planning at this stage determines the room's functionality, flow, and overall aesthetic. It involves assessing the current footprint, identifying necessary changes like moving plumbing or walls, and creating a design that maximises space while accommodating your lifestyle needs. A well-considered layout can transform a cramped, awkward space into a functional and serene retreat.
In Melbourne homes, which often feature compact bathrooms, smart design is paramount. This could mean replacing a bulky bathtub with a spacious walk-in shower or using a floating vanity to create an illusion of more floor space. Getting the layout right prevents costly mistakes during construction, such as realising a door can’t open fully or that the vanity is too close to the toilet. For a real-world example of how a thoughtful layout can modernise a space, explore the details of this Epping bathroom renovation project.
Actionable Tips for Layout and Design Planning:
- Create a Mood Board: Use platforms like Pinterest or gather magazine clippings to collate your ideas. This helps you visualise the final look and communicate your preferences clearly to your builder or designer.
- Measure Everything Thrice: Before committing to any fixture, measure your space meticulously. Note the exact locations of windows, doors, and existing plumbing and electrical points to ensure everything will fit as planned.
- Think About Future Needs: Consider incorporating accessibility features now to future-proof the space. This could include a curbless shower, grab bars, or a wider doorway, ensuring the bathroom remains functional for years to come.
3. Obtain Necessary Permits
Navigating the legal requirements of a renovation is a non-negotiable step in any bathroom renovation checklist. Building permits are a formal approval from your local council, ensuring that all work performed adheres to the Building Code of Australia (BCA) and other relevant safety standards. Overlooking this crucial step can lead to significant fines, difficulties selling your property in the future, and even orders to demolish unapproved work.
In Melbourne, a building permit is typically required if your renovation involves structural changes, such as removing a wall, or if the total project cost exceeds a certain threshold (currently $10,000). Waterproofing work also legally requires a permit and must be inspected. Your chosen registered builder or a private building surveyor can manage this process, ensuring all plumbing and electrical modifications are compliant and certified. This is especially vital in period homes where heritage overlays may add another layer of regulatory requirements.
Actionable Tips for Securing Permits:
- Consult a Building Surveyor Early: Engage a registered building surveyor at the start of your planning phase to determine which permits are necessary for your project's scope.
- Factor Permits into Your Timeline: The permit approval process in Victoria can take anywhere from 2 to 6 weeks. Build this buffer into your project schedule to avoid delays in starting construction.
- Confirm Your Builder Handles the Process: A reputable Melbourne builder will typically handle the permit application and coordinate all required inspections as part of their service. Clarify this responsibility in your contract.
- Budget for Permit Costs: Fees for building permits, inspections, and surveyor services can range from $800 to over $2,500, depending on the project's complexity. Ensure these costs are itemised in your budget.
4. Select and Order Materials and Fixtures
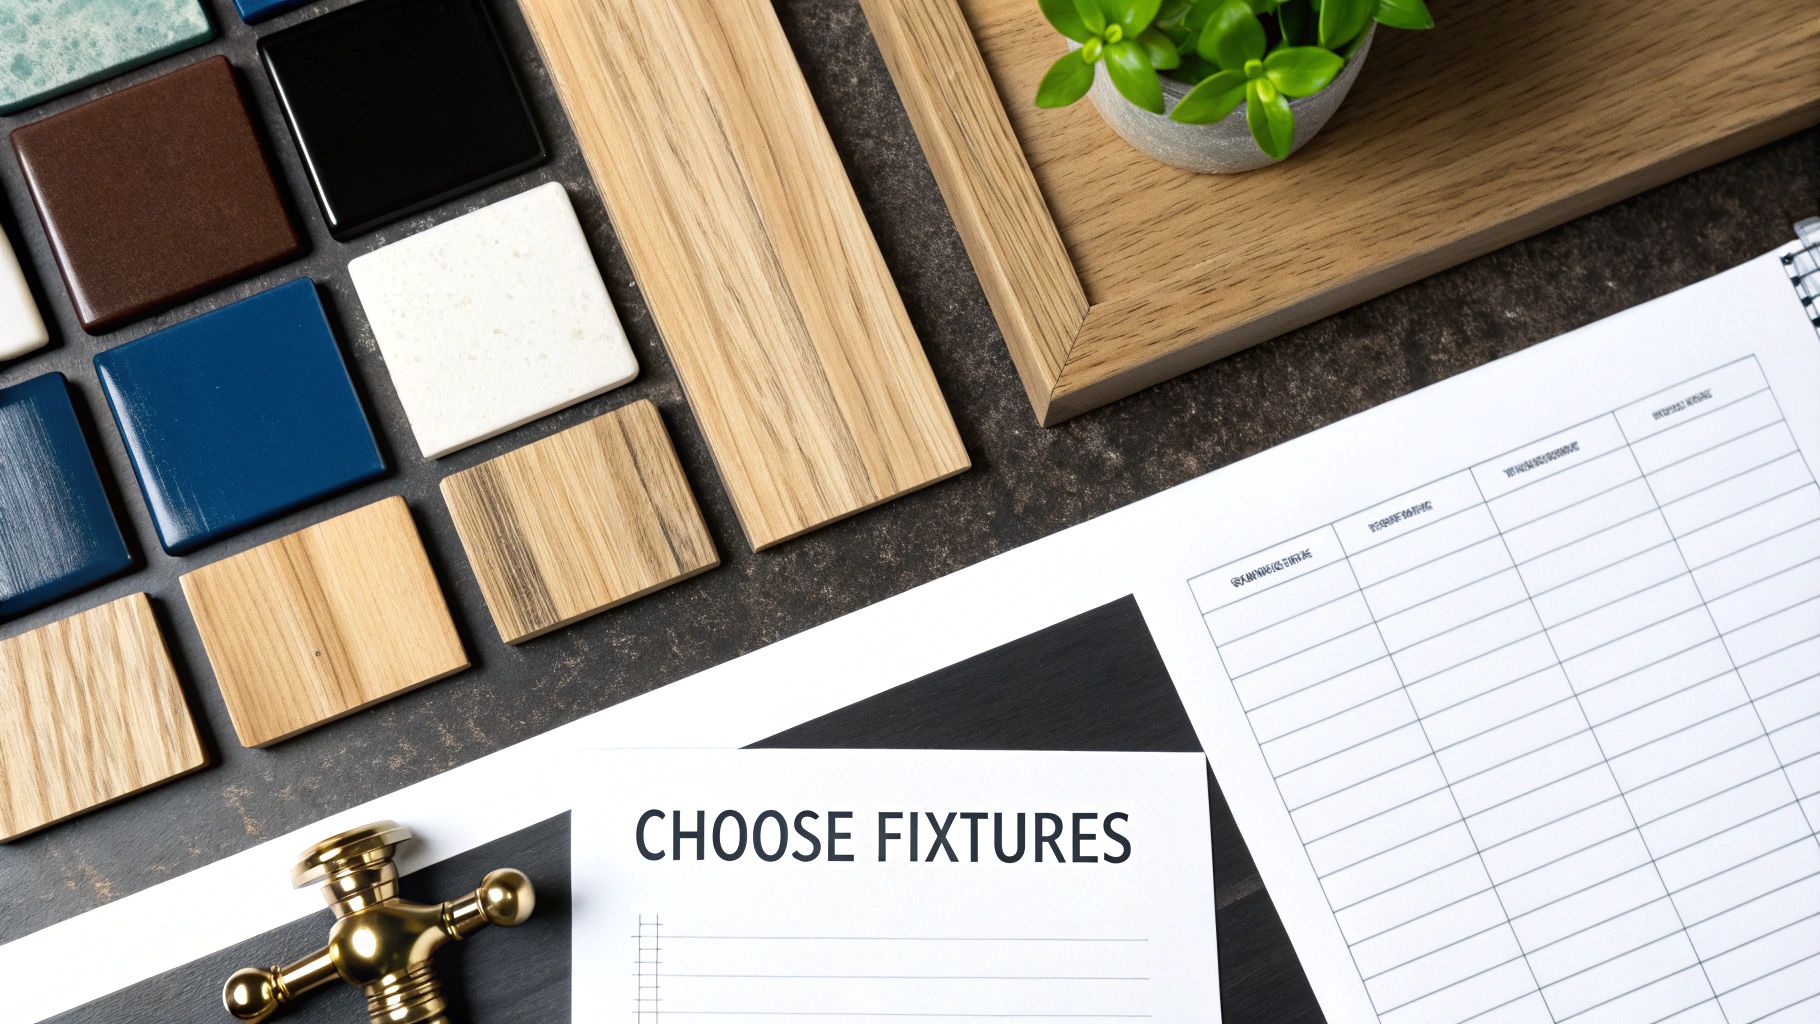
Once your design and layout are finalised, the next crucial step in your bathroom renovation checklist is selecting and ordering all your materials, fixtures, and finishes. This phase directly influences the project's durability, functionality, and overall aesthetic. Making these choices early is vital, as lead times for specific items, particularly custom vanities or imported tiles, can range from two to twelve weeks.
In Melbourne, sourcing from local suppliers can often reduce wait times and support the local economy. Consider porcelain tiles for wet areas due to their superior durability and low porosity compared to ceramic. For tapware and fixtures, brands like Caroma, Phoenix, and Fienza offer excellent warranties and designs suited to Australian standards. Ordering everything well in advance ensures all components are on-site before your builder commences demolition, preventing costly delays and ensuring a smooth workflow for the trades.
Actionable Tips for Material and Fixture Selection:
- Order Well in Advance: Place all orders at least 4-6 weeks before construction is scheduled to begin. This buffers against potential supplier delays or stock issues.
- Purchase from the Same Batch: When buying tiles, ensure they all come from the same batch number to avoid noticeable colour and size variations. Purchase 10-15% extra to keep for any future repairs.
- Prioritise Water Efficiency: Look for fixtures with a high WELS (Water Efficiency Labelling and Standards) star rating. This not only conserves water but will also reduce your utility bills over the long term.
- Request Physical Samples: Always get physical samples of tiles, benchtops, and cabinetry finishes. Colours can appear dramatically different online or under showroom lighting compared to the natural light in your own bathroom.
5. Hire Licensed and Insured Contractors
Once your design and materials are finalised, the next pivotal item on your bathroom renovation checklist is selecting the right team to bring your vision to life. Hiring licensed and insured contractors is non-negotiable for a successful, legally compliant, and safe renovation. These professionals possess the required certifications, carry essential insurance coverage, and have an in-depth understanding of Australian Building Codes, preventing costly mistakes and protecting you from liability.
In Melbourne, this means engaging a Registered Building Practitioner (RBP) to manage the overall project, along with licensed plumbers and electricians for their specialised trades. A qualified team ensures that all work meets Victorian standards, that warranties on products and labour are valid, and that your home is protected. For more guidance on assembling your renovation A-team, you can explore the various skilled trades required for a bathroom renovation.
Actionable Tips for Vetting and Hiring Contractors:
- Verify Credentials: Always check a builder’s registration with the Victorian Building Authority (VBA). Likewise, ensure your plumber and electrician hold current Victorian licences for their respective trades.
- Request Proof of Insurance: Ask for certificates of currency for Public Liability Insurance (minimum $10 million is standard) and Domestic Building Insurance (DBI) for projects over $16,000.
- Check Recent References: Speak to at least two recent clients who have had a similar bathroom renovation completed. Ask about communication, timeliness, and how unforeseen issues were handled.
- Insist on a Detailed Written Contract: The contract should clearly specify the project scope, payment schedule, materials list, timeline, and warranty details. Avoid contractors who push for large upfront payments.
6. Address Structural and Plumbing Infrastructure
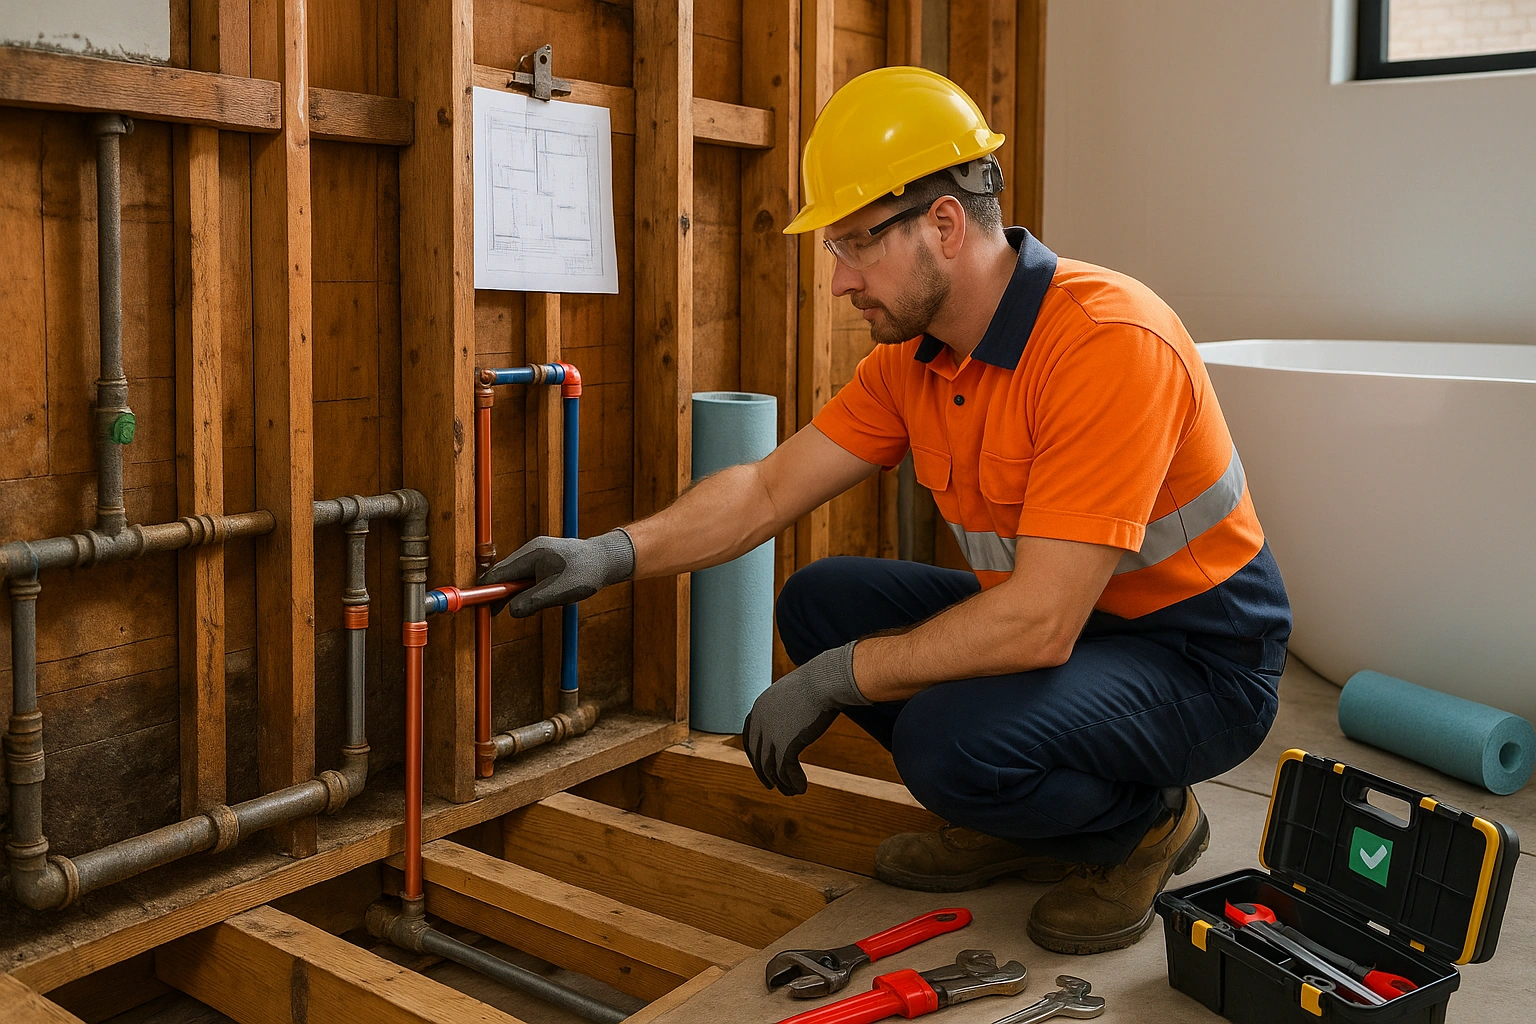
Once demolition is complete, the hidden framework of your bathroom is exposed. This is the crucial point in any bathroom renovation checklist to address the underlying structural and plumbing infrastructure. Before any cosmetic updates begin, it's vital to assess and upgrade these foundational elements to prevent costly future failures and ensure the longevity and safety of your new space for the next 15-20 years. This stage protects your investment from issues like hidden leaks, mould growth, and structural decay.
In Melbourne's older homes, it's common to uncover outdated galvanised steel pipes, which are prone to corrosion, or inadequate floor joists that can't support modern, heavier fixtures like freestanding baths. This is the opportunity to rectify these issues. Upgrades may involve replacing old plumbing with durable PEX or copper, reinforcing floor structures, and ensuring all wet areas are prepared with modern waterproofing membranes that meet Australian Standard AS 3740-2010. Addressing these core components is non-negotiable for a high-quality, enduring renovation.
Actionable Tips for Infrastructure Upgrades:
- Engage a Licensed Plumber Early: Have a licensed plumber inspect the entire existing system post-demolition to identify any corrosion, leaks, or non-compliant pipework that needs immediate replacement.
- Prioritise Waterproofing: Ensure your builder installs a high-quality waterproofing membrane and cement board in all wet areas, such as the shower and around the bath. This is a regulated stage that requires a compliance certificate in Victoria.
- Verify Proper Ventilation: Check that your exhaust fan is correctly ducted to vent outside, not into the attic or ceiling cavity. This is essential for preventing moisture build-up and mould growth. Upgrading to a fan with a higher extraction rate (CFM) is a wise investment.
7. Plan Ventilation and Moisture Control
A critical but often overlooked element in any bathroom renovation checklist is the strategic planning of ventilation and moisture control. Proper ventilation is non-negotiable in a bathroom; it prevents the build-up of moisture that leads to mould, mildew, peeling paint, and long-term structural damage. An effective system, typically involving a high-quality exhaust fan, protects your investment and ensures a healthier indoor environment for your family.
In Melbourne's varied climate, managing internal humidity is essential. The Building Code of Australia (BCA) mandates mechanical ventilation in bathrooms without an openable window. For a small powder room, a fan with a capacity of 50 cubic feet per minute (CFM) may suffice, but a master bathroom typically requires 100 CFM or more. Investing in models with humidity sensors, like the Broan Sensaire series, automates the process, ensuring the fan runs precisely when needed to protect your new finishes.
Actionable Tips for Ventilation and Moisture Control:
- Size Your Fan Correctly: The general rule is a minimum of 1 CFM per square foot of floor area. For larger bathrooms or those with high ceilings, you may need a more powerful unit.
- Duct Directly Outside: Ensure your builder ducts the exhaust fan straight outside through the roof or a wall. Venting into the attic or ceiling cavity simply relocates moisture, creating a hidden breeding ground for mould.
- Minimise Duct Bends: Keep the ductwork as short and straight as possible to maximise airflow efficiency. Each bend reduces the fan's effectiveness.
- Consider Smart Controls: Install a fan with a timer or a humidity sensor. This guarantees the fan runs for the recommended 20-30 minutes after a shower, even if you forget to leave it on.
8. Select Lighting and Electrical Upgrades
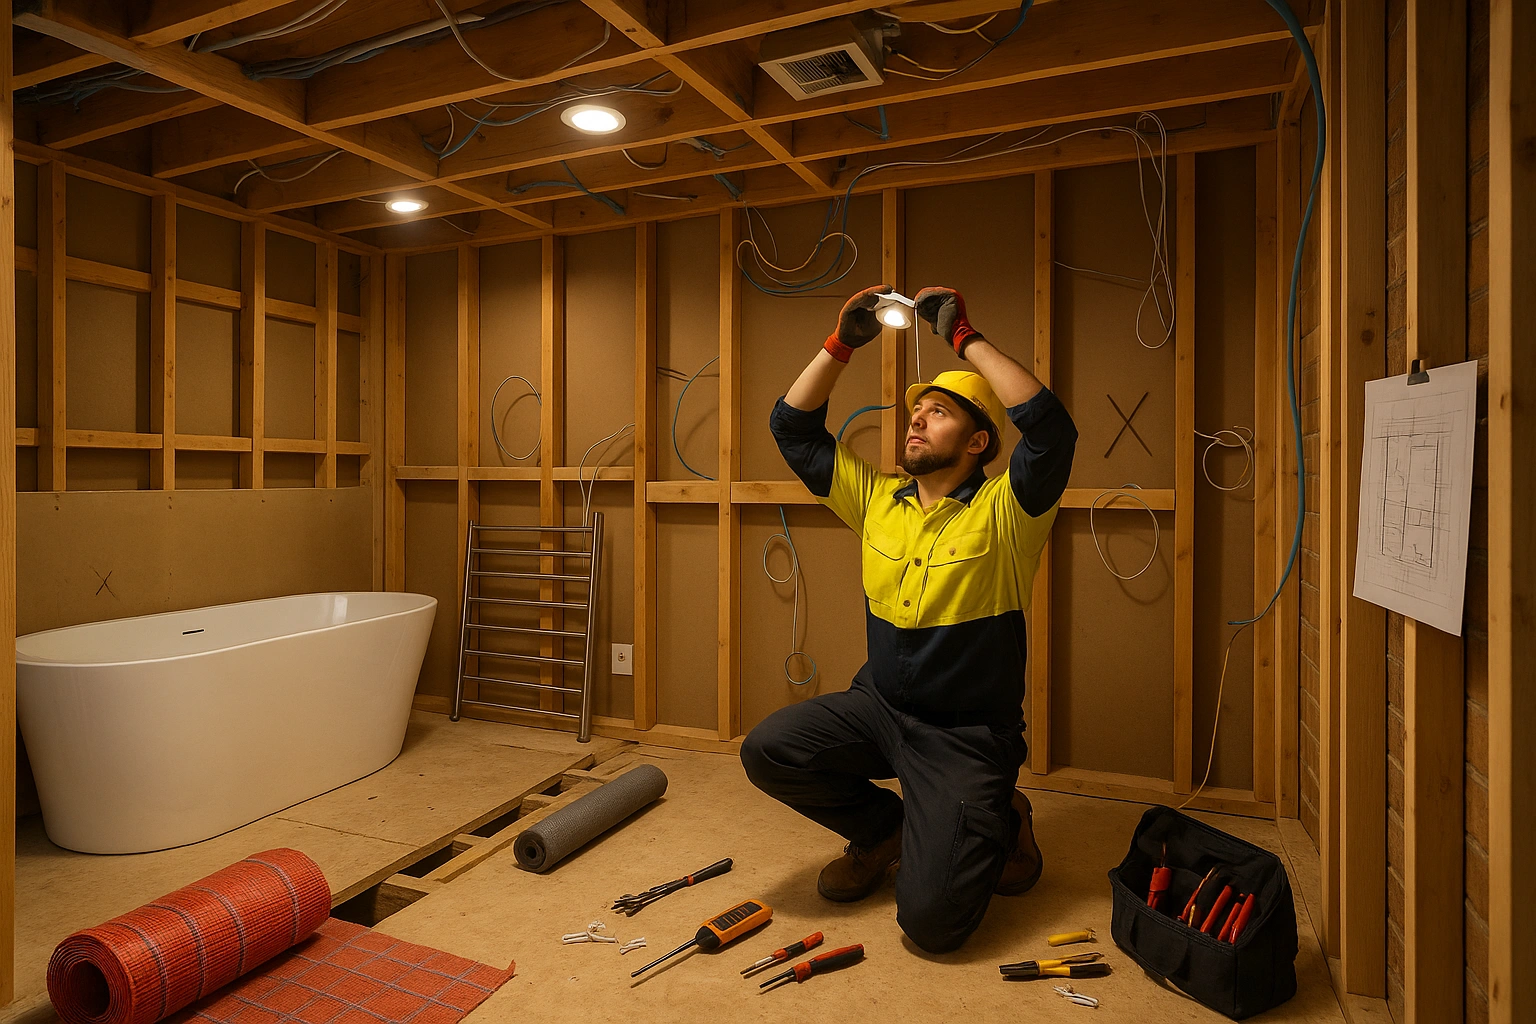
Often overlooked until the final stages, strategic lighting and electrical planning are essential components of a functional and safe bathroom renovation checklist. A well-designed electrical layout enhances usability, creates atmosphere, and ensures compliance with Australian safety standards. This phase involves mapping out task lighting for grooming, ambient lighting for general illumination, and accent lighting to highlight design features, alongside necessary power point and ventilation upgrades.
In a Melbourne home, a licensed electrician must handle all wiring to ensure it meets AS/NZS 3000 regulations, especially concerning wet areas. Planning for a heated towel rail, underfloor heating, or an efficient exhaust fan requires dedicated circuits. Layering your lighting design not only improves functionality but also adds a sense of luxury, transforming the bathroom from a purely utilitarian space into a personal retreat. Considering these elements early prevents costly post-tiling modifications.
Actionable Tips for Lighting and Electrical Planning:
- Layer Your Lighting: Combine different light sources. Use task lighting, like vertical sconces on either side of the vanity mirror, to eliminate shadows. Add a central downlight for ambient brightness and consider LED strip lighting under a floating vanity for a subtle accent.
- Choose the Right Colour Temperature: Select bulbs with a colour temperature of 3000K (warm white) or 4000K (neutral white). These tones render skin tones accurately and create a clean, inviting atmosphere without being too harsh.
- Prioritise Safety and Convenience: Ensure all power points within wet zones are safety-switch protected. Plan for extra outlets inside vanity drawers for hair dryers or electric razors, and consider adding USB ports for charging devices. All work must be completed by a licensed electrician.
9. Prepare for Construction and Project Management
Once demolition day is on the calendar, the next step in your bathroom renovation checklist involves preparing your home and establishing clear project management protocols. Effective preparation minimises disruption to your daily life and ensures the construction phase proceeds smoothly. This involves setting up alternative bathroom facilities, defining communication channels with your builder, and protecting the rest of your home from construction dust and debris.
For a busy Melbourne household, losing access to a primary bathroom for 4-6 weeks requires a solid plan. Organise access to a guest bathroom, or consider a temporary shower setup if one is not available. Similarly, proactive project management prevents misunderstandings and keeps the timeline on track. Establishing a single point of contact and a regular meeting schedule ensures you are always informed of progress and can address issues quickly, which is crucial for a stress-free renovation experience.
Actionable Tips for Construction Prep and Management:
- Establish Ground Rules: Before work begins, agree on key logistics with your builder. Define daily work hours (e.g., 7:30 AM to 4:00 PM), designated parking areas, and access to a specific restroom for the tradespeople.
- Set Up a Communication Cadence: Schedule a brief daily check-in (e.g., 9 AM text or call) with your project manager to review progress and ask questions. A weekly email with progress photos provides a formal record and keeps everyone aligned.
- Protect Your Home: Use plastic sheeting and drop cloths to seal off the construction zone from the rest of your house. Clear a dedicated path for tradespeople to move materials in and out, and identify a secure storage location like a garage for fixtures and tiles.
- Document Everything: Keep a project diary with daily photos. Meticulously file all receipts, invoices, and any signed change order documentation. This creates an essential paper trail if disputes or questions arise later.
10. Install Finishes and Complete Inspections
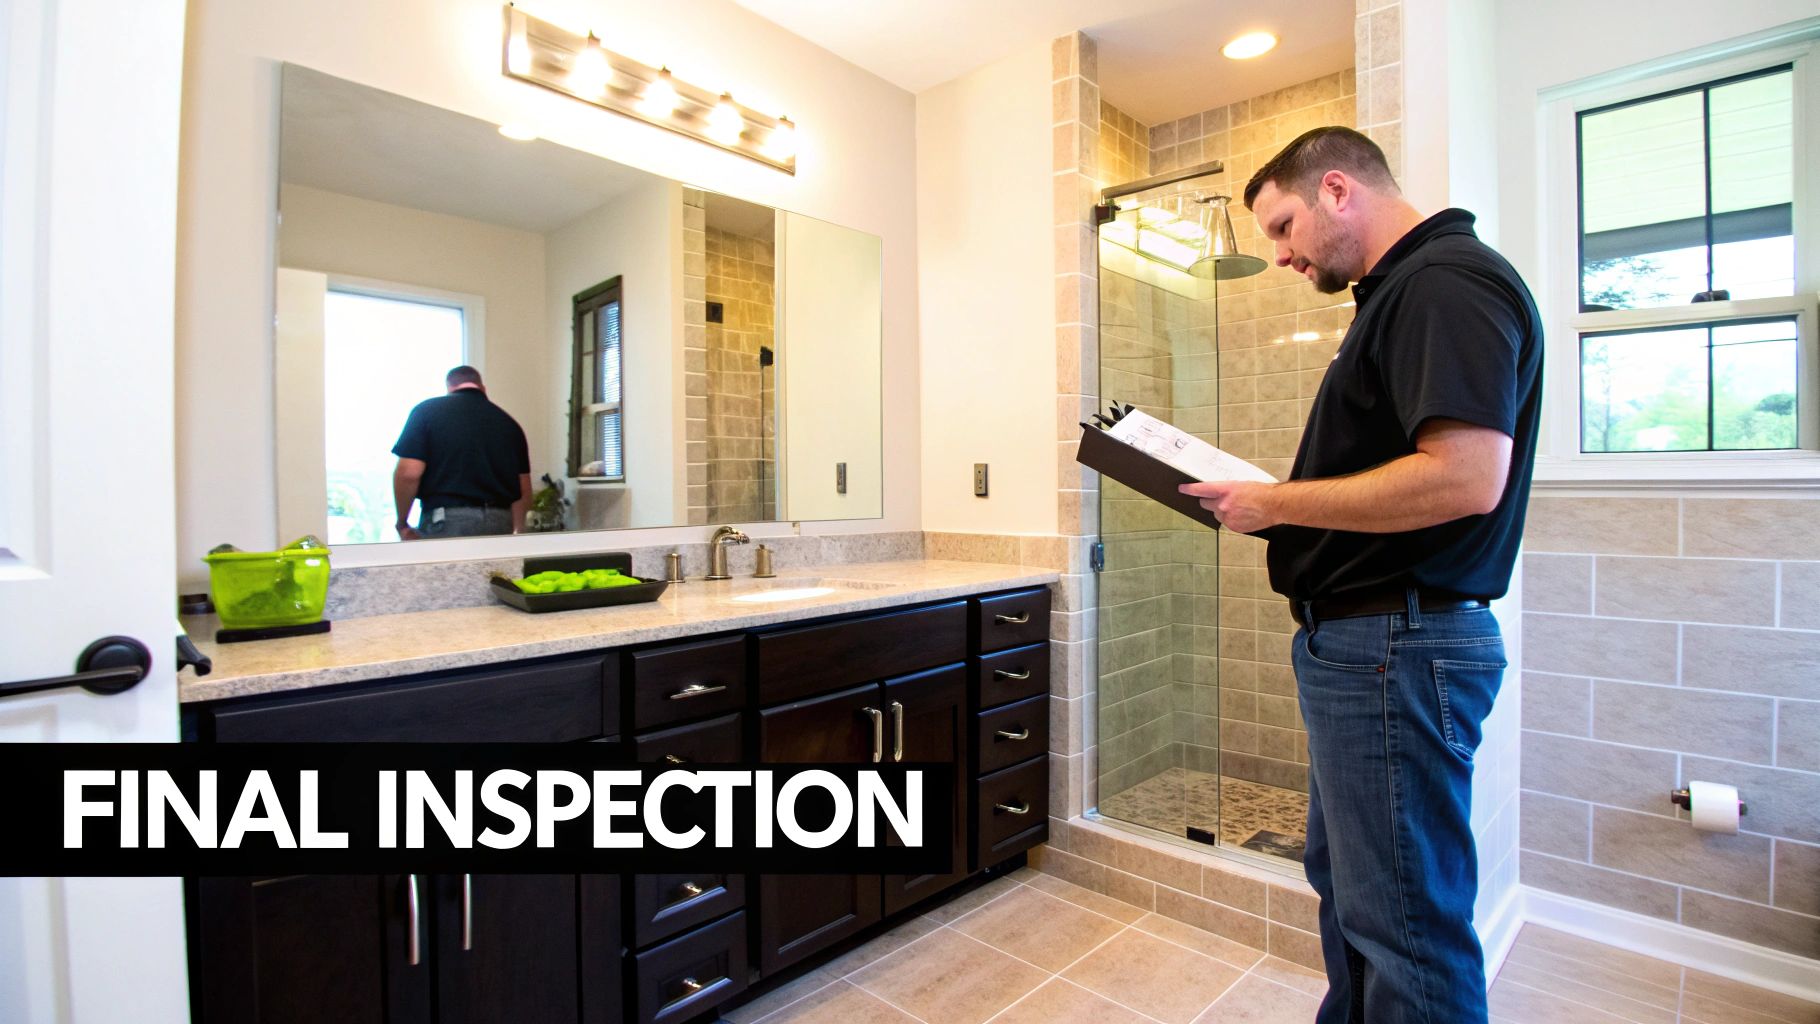
With the core construction and waterproofing complete, this is the phase where your bathroom truly comes to life. The installation of finishes, fixtures, and accessories transforms the functional shell into a beautiful, complete space. This final stage also includes critical inspections by licensed professionals to ensure all work complies with Australian Standards and local building codes, providing peace of mind and formal sign-off on the project.
This part of your bathroom renovation checklist involves meticulous attention to detail. It includes the professional installation of tiles with correct grouting and sealing, the precise fitting of your vanity with secure plumbing connections, and the safe installation of all lighting and electrical fixtures. Every element, from the paint on the walls to the placement of towel rails and mirrors, contributes to the final aesthetic and functional quality of your new Melbourne bathroom.
Actionable Tips for Finishes and Inspections:
- Create a Detailed Punch List: Walk through the space daily during the finishing phase. Keep a running list (a "punch list") of any minor defects, scuffs, or incomplete items for your builder to address before the final handover.
- Verify Compliance Certificates: Ensure you receive compliance certificates from the licensed plumber and electrician. In Victoria, these documents are legal requirements that certify the work is safe and up to code.
- Request All Warranties: Before making the final payment, obtain all manufacturer warranties for your fixtures (taps, toilet, vanity) and the builder’s warranty for the workmanship, which typically covers a minimum of two years for non-structural defects.
- Conduct a Final Walkthrough: Perform a thorough final inspection with your builder. Test every tap, flush the toilet, check all lights, and inspect the quality of the paint, tile, and caulking before formally signing off on the project completion.
Bathroom Renovation: 10-Point Comparison
| Step | Implementation complexity | Resource requirements |
|---|---|---|
| Establish Budget and Timeline | Low–Medium: planning and research | Time for quotes, budgeting tools, contingency funds (10–20%) |
| Plan Layout and Design | Medium–High: design and possible structural changes | Designer/software, precise measurements, consultation fees |
| Obtain Necessary Permits | Low–Medium: paperwork and inspections | Permit fees, documentation, approval lead time |
| Select and Order Materials and Fixtures | Medium: selection and lead-time management | Supplier research, budget allocation, storage space |
| Hire Licensed and Insured Contractors | Medium: vetting and contract negotiation | Time to vet, higher labor costs, proof of insurance |
| Address Structural and Plumbing Infrastructure | High: specialty inspections and repairs | Licensed plumbers/contractors, potential high costs |
| Plan Ventilation and Moisture Control | Medium: sizing and proper ducting | Exhaust fans, ductwork, sensors, installation labor |
| Select Lighting and Electrical Upgrades | Medium: circuit work and fixture placement | Electrician, fixtures, GFCI outlets, possible new circuits |
| Prepare for Construction and Project Management | Medium: coordination and communication | Time commitment, temporary facilities, project tools |
| Install Finishes and Complete Inspections | Medium: detailed finishing and final checks | Skilled finish trades, inspection fees, punch-list time |
Your Renovation Journey Starts Now
Embarking on a bathroom renovation can feel like a monumental task, but with a structured approach, it transforms from an overwhelming challenge into an exciting project. This comprehensive bathroom renovation checklist has been designed to act as your roadmap, guiding you through every critical phase of your Melbourne project. By breaking down the process into manageable stages, you can navigate each step with clarity and confidence.
We have moved methodically from the foundational elements of budgeting and design to the complexities of permits and trade coordination. The value of this checklist lies not just in remembering to pick out tiles, but in understanding the sequence and interplay of each decision. Getting the structural, plumbing, and electrical infrastructure right before a single tile is laid is non-negotiable. Similarly, planning for ventilation and moisture control from the outset protects your investment and your home’s health for years to come.
From Checklist to Completion
The journey from a dated, impractical bathroom to a modern, functional sanctuary is built on a series of well-executed steps. This guide empowers you to ask the right questions, hire the right professionals, and manage the process effectively.
Key takeaways to remember:
- Planning is paramount: A detailed plan, covering everything from layout to material selection, is your single most powerful tool for staying on budget and on schedule.
- Professional expertise is invaluable: Licensed and insured contractors, plumbers, and electricians are essential for ensuring compliance, safety, and quality workmanship, particularly in a city like Melbourne with specific building codes.
- Don't overlook the unseen: Elements like waterproofing, ventilation, and plumbing infrastructure are the unsung heroes of a durable and functional bathroom. Prioritise them.
By internalising these principles, you shift from simply following a list to strategically managing a complex project. The end result is not just a beautiful new bathroom, but a space that enhances your daily life, adds significant value to your property, and brings a deep sense of satisfaction. Your dream bathroom is not just a possibility; with this detailed checklist, it is an achievable goal.
Ready to turn your detailed checklist into a stunning reality? The team at Smarter Home Renovations specialises in a seamless, end-to-end renovation process, managing every detail from initial design to final handover.
Let us bring our expertise to your project and ensure your Melbourne bathroom renovation is a stress-free success. Contact us today!