Learn how to grout bathroom tiles with this guide for Melbourne homeowners. Get pro tips on tools, techniques & how to get a perfect finish.
It’s easy to think of grout as an afterthought. When you’re in the middle of a full Melbourne bathroom renovation, especially when you’re focused on choosing and installing your bathroom tiles, it feels like a minor finishing touch, the last little job after you’ve finally landed on the perfect tiles. But after two decades in this business, I can tell you that taking the time to properly grout bathroom tiles is what truly brings everything together and ensures a beautiful, long-lasting bathroom.
Don't just see it as filler. Think of it as your bathroom's first line of defence.
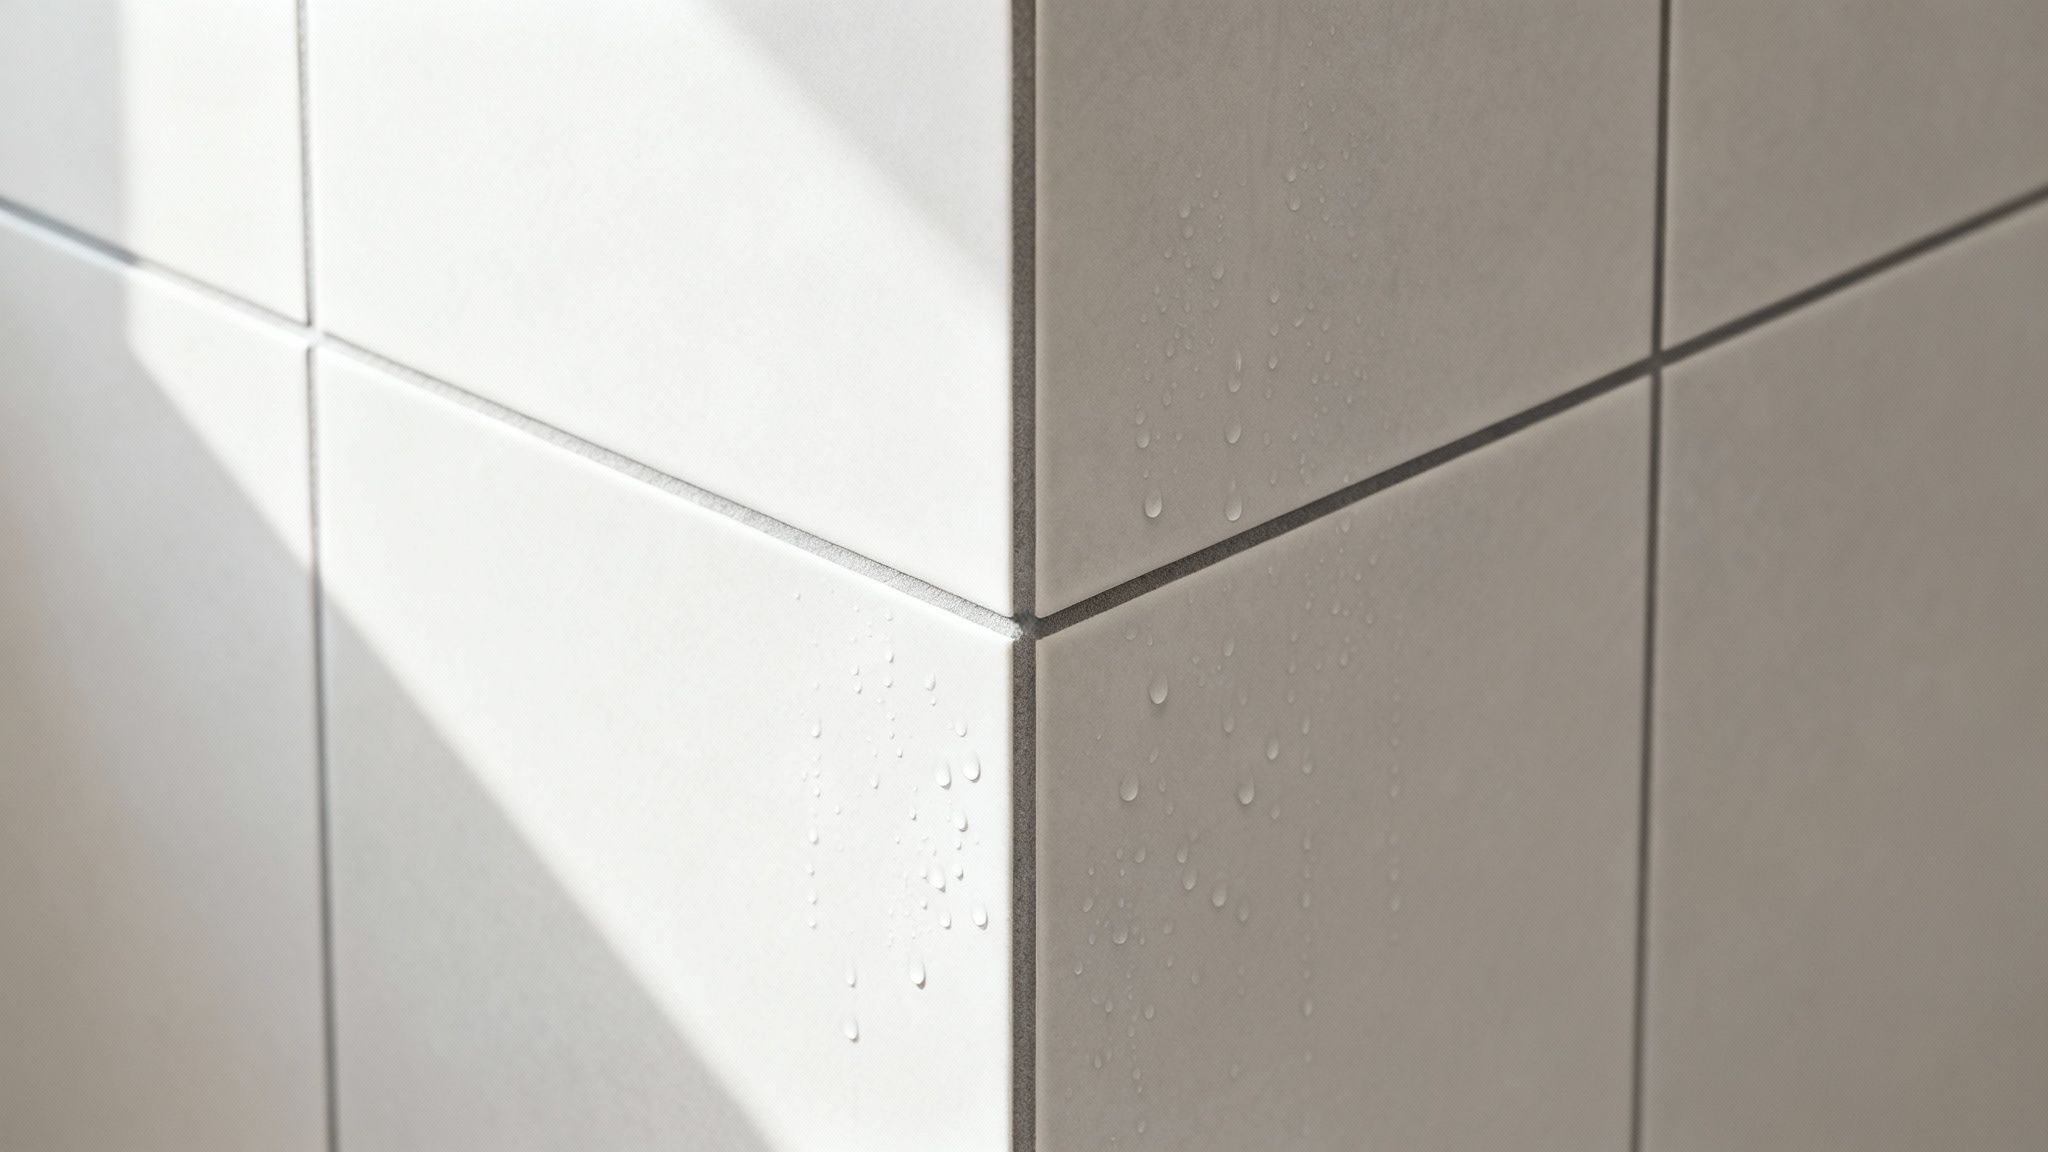
A proper grout job is what stands between your home and serious water damage, which can lead to expensive structural rot. It’s also your best weapon against the growth of ugly and unhealthy mould or mildew.
Grouting is not just a cosmetic step; it’s a functional necessity that locks your tiles together, provides structural support, and creates a waterproof seal. A rushed or poorly executed job can compromise the entire project.
The True Cost of Neglecting Grout
In 2025, bathroom renovations are more popular than ever across Australia, ranking as the second most renovated space in the home. Here in Melbourne, a mid-range bathroom upgrade will often land somewhere between $15,000 and $30,000. Grouting is right at the heart of that investment, typically making up $1,000 to $5,000 of the total tiling budget.
When you understand the costs, it’s easy to see why getting the grout right is so critical. A top-notch job helps prevent persistent headaches like how to get rid of black mold in a shower before they can even start.
More Than Just a Practical Step
Beyond its protective role, the grout you choose has a massive impact on the final look and feel of your bathroom. It can completely change the room's character.
- Create Visual Harmony: Matching the grout to your tile colour gives you a seamless, monolithic look. It’s a great trick for making a smaller bathroom feel more spacious and open.
- Add Bold Contrast: A dark grout with light tiles (or the other way around) makes the tile pattern pop. This turns your wall or floor into a real graphic design feature.
- Define the Style: The colour and even the finish of your grout lines contribute to the overall aesthetic, whether you're going for a clean modern vibe, a rustic farmhouse feel, or a timeless classic look.
This guide will walk you through how to grout your bathroom tiles with the care and precision of a pro. We'll make sure all your hard work results in a space that’s not only stunning but built to last.
Choosing Your Grout and Gathering the Right Tools
Getting the prep work right is half the battle for a professional-looking grout job. Before you even think about mixing, you need the right tools and the perfect grout for your bathroom tiles. Trust me, trying to make do with a generic plastic spreader will only lead to frustration and a subpar finish.
Think of it like cooking – the right utensils make all the difference. For grouting, your best friend is a dedicated grout float. Its firm but flexible rubber pad is designed specifically to press grout deep into the joints without scratching your precious tiles.
And for mixing? A margin trowel is your go-to. It's much better than a random paint stirrer because its narrow shape lets you scrape every last bit from the sides of the bucket. This means you’ll get a smooth, lump-free mix every single time.
Picking the Perfect Grout for Your Project
Choosing the right grout is just as crucial as selecting your tiles. The decision hinges on what your tiles are made of, how wide your grout lines are, and the kind of durability you need. For most bathroom renovations in Melbourne, you'll be deciding between three main types.
Choosing the right grout is key to a long-lasting, beautiful finish. This table breaks down the most common types to help you decide which is best for your bathroom tiling project.
Which Grout Is Right for Your Bathroom Tiles
Sanded grout
- Ideal for: Grout lines 3mm or wider, most floor and wall tiles
- Key benefit: The sand adds strength, preventing shrinkage and cracks
- Main drawback: Can scratch delicate surfaces like polished marble or glass
Unsanded grout
- Ideal for: Grout lines under 3mm, delicate or high-gloss tiles
- Key benefit: Smooth finish that won’t scratch sensitive tile surfaces
- Main drawback: Can shrink or crack in wider joints
Epoxy grout
- Ideal for: High-moisture areas like shower floors and splashbacks
- Key benefit: Non-porous; resists stains, mould, and mildew without sealing
- Main drawback: More expensive and can be trickier to work with
Each grout has its place, and using the right one will save you a lot of headaches down the line.
A common mistake I see is people using sanded grout on delicate tiles, which can leave permanent, heartbreaking scratches. Always, always double-check the tile manufacturer's recommendation before you head to the checkout.
Don't Overlook Grout Colour
Grout colour isn’t just a finishing touch; it’s a design decision that will completely transform the look of your bathroom. The shade you pick can either make your tiles blend into a seamless surface or make them pop as a bold feature.
Choosing a colour that closely matches your tiles creates a unified, monolithic look. This is a fantastic trick for making a smaller bathroom feel more spacious and calm.
On the other hand, a contrasting colour like a dark charcoal grout against classic white subway tile, turns the tile pattern itself into a graphic statement. The final vibe of your room often comes down to this one choice, so take your time with it. If you're still mapping things out, our guide on how to choose bathroom tiles can help you coordinate everything from the start.
Prepping Your Tiles for a Perfect Grout Application
If there's one secret to a flawless grout job, it's this: the quality of your finish is almost entirely decided before you even open the bag of grout. Rushing the prep stage is the single biggest mistake I see DIY renovators make, so please, take your time here. Your patience will absolutely pay off with a professional-looking, long-lasting result.

The very first thing you need to do is… nothing. Just wait. After you’ve laid your tiles, the adhesive needs to fully cure and harden. This typically takes between 24 to 48 hours, but always double-check the manufacturer’s instructions on the adhesive bag.
Grouting too early is a disaster waiting to happen; it traps moisture under the tiles, which can weaken the bond and lead to loose tiles down the track.
Clean and Clear Grout Joints
Once the tile adhesive is rock solid, your main mission is to get the spaces between your tiles perfectly clean and ready for grout. You'll need to meticulously remove any lumps of dried adhesive (often called thin-set) that have squeezed up.
Grab a utility knife or a specialised grout rake and carefully scrape out any excess mortar sitting in the joints. The goal here is to create a clean, uniform channel that is at least two-thirds the depth of the tile. This is critical because it gives the grout enough room to form a strong, solid connection between each tile.
This might feel like a tedious job, but it's completely non-negotiable. If you try to grout over high spots of old adhesive, the new grout will be way too thin in those areas. That makes it incredibly weak and almost guaranteed to crack and chip away over time.
Protect Your Bathroom Fixtures
Before you even think about mixing your grout, spend a few minutes protecting the surrounding surfaces. This simple step will save you a world of pain and frustrating cleanup later on.
Apply painter's tape along all the edges where your beautiful new tiles meet other surfaces. This includes:
- The rim of your bathtub or shower base
- The top of your vanity cabinet
- The edges of architraves or window sills
- Any adjacent walls that aren't being tiled
This creates a crisp, clean barrier, stopping any stray grout from smudging your fixtures. In a bathroom renovation, it’s these little details that really elevate the final look.
Thinking through how every element works together, from the grout lines to the tile layout itself, is key. If you're hunting for ideas on how a layout can transform your space, have a look at our guide on 8 smart tile patterns for small bathrooms to use in 2025.
How to Mix and Apply Grout Like a Professional
This is the moment where all your careful preparation pays off. Mixing and applying grout isn't rocket science, but it does demand a methodical touch. Nailing this step is what separates a durable, professional-looking finish from a weak, crumbly job that you'll be redoing in a couple of years.
Your first goal is getting the consistency just right. You're aiming for a thick, smooth paste, think natural peanut butter. If your mix is too runny, it simply won't have the strength to bond properly in the joints. Too dry and crumbly? It'll be a nightmare to work with and won't pack into the gaps effectively.
The Perfect Grout Mix
Start by pouring about three-quarters of the manufacturer's recommended water into a clean bucket. Gradually add the grout powder while mixing slowly with a margin trowel or a drill fitted with a mixer paddle on its lowest setting. Going slow is crucial; it stops you from whipping too much air into the mix, which can seriously weaken the final result.
Keep adding tiny amounts of powder or mere splashes of water until you hit that ideal peanut butter texture. Once you've got it, let the grout "slake" (a fancy term for rest) for about 5-10 minutes.
This gives the chemicals time to fully activate and for the powder to absorb all the moisture. Give it one last, quick mix, and you're good to go.
One of the most common DIY mistakes is adding too much water to make the grout seem easier to spread. This is a critical error. Excess water just dilutes the polymers in the mix, leading to a weaker, more porous grout that's prone to cracking and ugly discolouration.
Applying Grout with the Right Technique
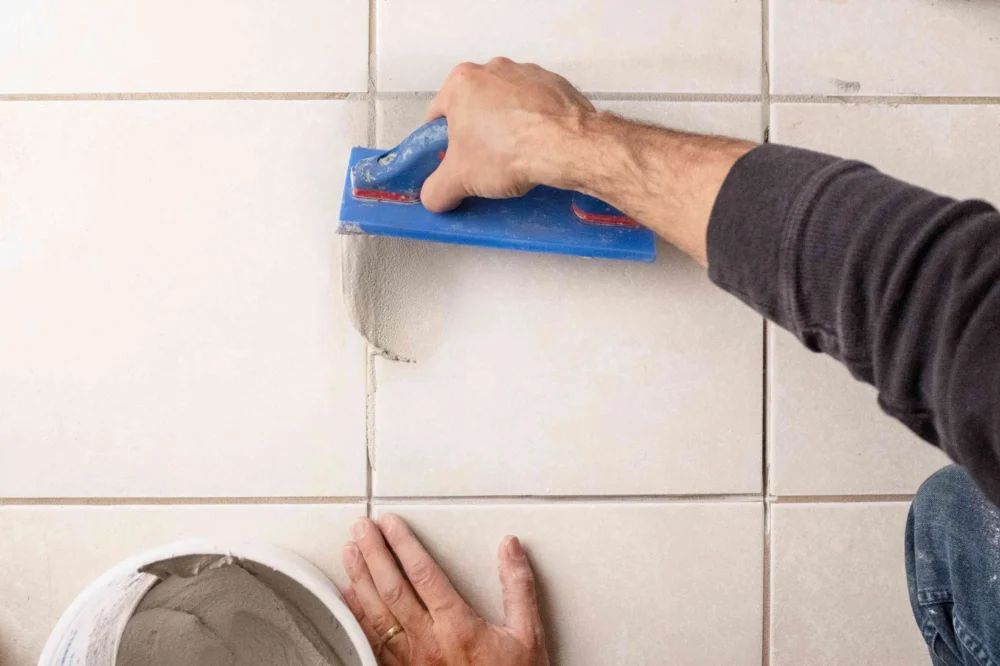
When you're ready to start, scoop a generous amount of grout onto your grout float. Hold the float at a sharp 45-degree angle to the tile surface. Now, press down firmly and spread the grout diagonally across the tile joints.
Working diagonally is absolutely key. It forces the grout deep into the joints, filling any hidden voids and ensuring a strong, complete bond. If you move parallel to the joints, the edge of the float can accidentally scoop the grout right back out again.
This infographic is a great visual reminder of the essential prep work that sets you up for success at this stage.

This visual flow reinforces that waiting for the adhesive to cure, cleaning the joints, and protecting surrounding surfaces are the non-negotiable foundations for a perfect grout job.
Work in Manageable Sections
Here’s a tip from years of doing this: don't try to grout the entire bathroom in one marathon session. Work in small, manageable sections, about one square metre at a time. This is especially important if it’s your first time learning how to grout bathroom tiles.
If you apply grout over too large an area, it will start to harden on the tile surface before you get a chance to clean it off. Trust me, removing dried grout is a tough, frustrating job that puts your brand-new tiles at risk of being scratched.
As you finish a section, use the edge of your float held at a 90-degree angle to scrape off the excess grout from the tile faces. This little step makes the initial cleanup so much easier.
With tiling and grouting costs on the rise in Australia, getting this right yourself can mean big savings. In a typical mid-range $25,000 bathroom renovation, tiling can account for around $5,000, with grouting making up $500-$1,000 of that.
High-demand areas like Melbourne often see premiums of up to 15% due to labour shortages. Skimping on materials or technique often leads to failure, with some budget cement-based grouts cracking within two years, a stark contrast to durable epoxy options that can last over a decade. You can discover more insights about Australian bathroom renovation costs from Matrix Estimating.
Cleaning, Curing, and Sealing for Long-Term Durability

You’ve applied the grout, scraped away the excess, and your bathroom is finally starting to look like a finished room. But the job isn't quite over. This final stage of cleaning, curing, and sealing. This is what protects all your hard work and guarantees a durable, professional finish that will last for years.
Rushing this part is a rookie mistake that can lead to weak, crumbly grout, stubborn stains, and a finish you're just not proud of. Let's walk through the finishing touches that really make all the difference.
The Initial Grout Cleanup
Timing is everything here. You need to wait for the grout to set up a bit in the joints, which usually takes around 15 to 30 minutes. If you start wiping too soon, you’ll just pull the fresh grout right out of the gaps you so carefully filled.
Once it's firm to the touch, it’s time for the first cleanup pass.
- Get a clean bucket of water and two grout sponges. One sponge is for the initial dirty work, and the second is for a final, cleaner pass.
- Dampen your first sponge, then wring it out completely. A dripping sponge is your enemy; too much water will just dilute and weaken the grout.
- Wipe diagonally across the tiles. Use light pressure and long, smooth strokes. This diagonal motion is key, it stops the sponge from catching on the grout lines and pulling out your hard work.
- Rinse and wring out your sponge after every single pass. This is non-negotiable. Using a dirty sponge just spreads a thin layer of grout residue back onto the tiles, creating more work for yourself later.
After your first pass, grab your second, cleaner sponge for a final wipe to remove any remaining film. Your goal here is to have clean tile faces and smooth, consistent grout lines.
Banishing Stubborn Grout Haze
A day or so after grouting, you'll probably notice a chalky, white film on your tiles. Don't panic. This is grout haze, and it’s completely normal. It’s just the mineral residue left behind as the water evaporates out of the grout.
For most haze, all you need is a clean, dry microfibre cloth to buff the tiles clean. If it's a bit more stubborn, you can buy a dedicated grout haze remover. Just make sure to test it on a spare tile or in an inconspicuous spot first to ensure it doesn't damage your tile’s finish.
The most crucial period for your new grout is the first 72 hours. This is when the grout cures and hardens to its full strength. During this time, the bathroom must be kept completely dry, no showers, no cleaning, no moisture at all.
The Importance of Curing and Sealing
After that mandatory 72-hour drying period, your grout will be hard, but it's not yet fully waterproof, especially if you used a standard cement-based product. In a humid Melbourne bathroom, unsealed grout acts like a sponge, soaking up moisture, which is an open invitation for mould and mildew to move in.
Sealing is the final protective step. A good quality grout sealer creates an invisible barrier that repels water and stops stains from soaking in. You should typically apply a sealer 72 hours after grouting, once you're confident the grout is fully cured.
Application is simple enough: use a small brush or applicator to carefully paint the sealer onto the grout lines, wiping any excess off the tiles as you go.
This barrier is a crucial part of your bathroom's overall water defence system. You can learn more about creating a watertight space in our article on choosing the best waterproofing for bathrooms.
Once your grout has cured and been sealed, keeping it looking good is all about regular maintenance. For a comprehensive resource on how to keep it clean for the long haul, check out this a practical guide to cleaning floor tile grout.
Common Grouting Questions from Melbourne Homeowners
Even with the best guide, questions always pop up. Over our years of renovating bathrooms across Melbourne, we've heard them all. Here are quick, practical answers to the most common queries we get, designed to give you that extra bit of confidence before you start your project.
Can I Put New Grout Over Old Grout?
This is easily the most asked question, and the answer is a firm no. Applying a thin layer of new grout over old, cracked grout is like putting a plaster on a broken bone, it might look better for a week, but it solves nothing.
The new layer will be far too thin to create a strong bond. It will quickly crack, chip, and flake away, leaving you with a bigger mess than you started with. You must completely remove the old grout to give the new application the proper depth it needs to cure into a durable, watertight seal.
How Long Should I Wait to Shower After Grouting?
Patience is your best friend after grouting. You absolutely have to wait a minimum of 72 hours before using the shower. This isn't just a suggestion; it's a critical curing window.
During this time, the grout is chemically hardening and reaching its maximum strength and water resistance. Exposing it to moisture too early will weaken the entire structure, leading to premature decay and potential water damage down the track. Keep the area completely dry for three full days.
A common mistake is thinking the grout is ready once it feels hard to the touch after 24 hours. The internal chemical curing process takes much longer, and interrupting it is a recipe for failure.
Why Did My Grout Dry a Different Colour?
It can be pretty alarming to see your carefully chosen charcoal grey grout dry to a patchy, light grey. This issue almost always comes down to one thing: too much water.
This can happen in two ways:
- During mixing: Adding excess water to the initial mix can dilute the pigments.
- During cleanup: Using a sopping wet sponge to wipe down the tiles can literally pull pigment out of the fresh grout lines.
To avoid this, stick to that perfect peanut butter consistency when mixing and always wring your sponge out until it's just damp before cleaning.
Feeling confident but prefer a professional touch? The team at Smarter Home Renovations has been delivering flawless bathroom renovations across Melbourne for over two decades.