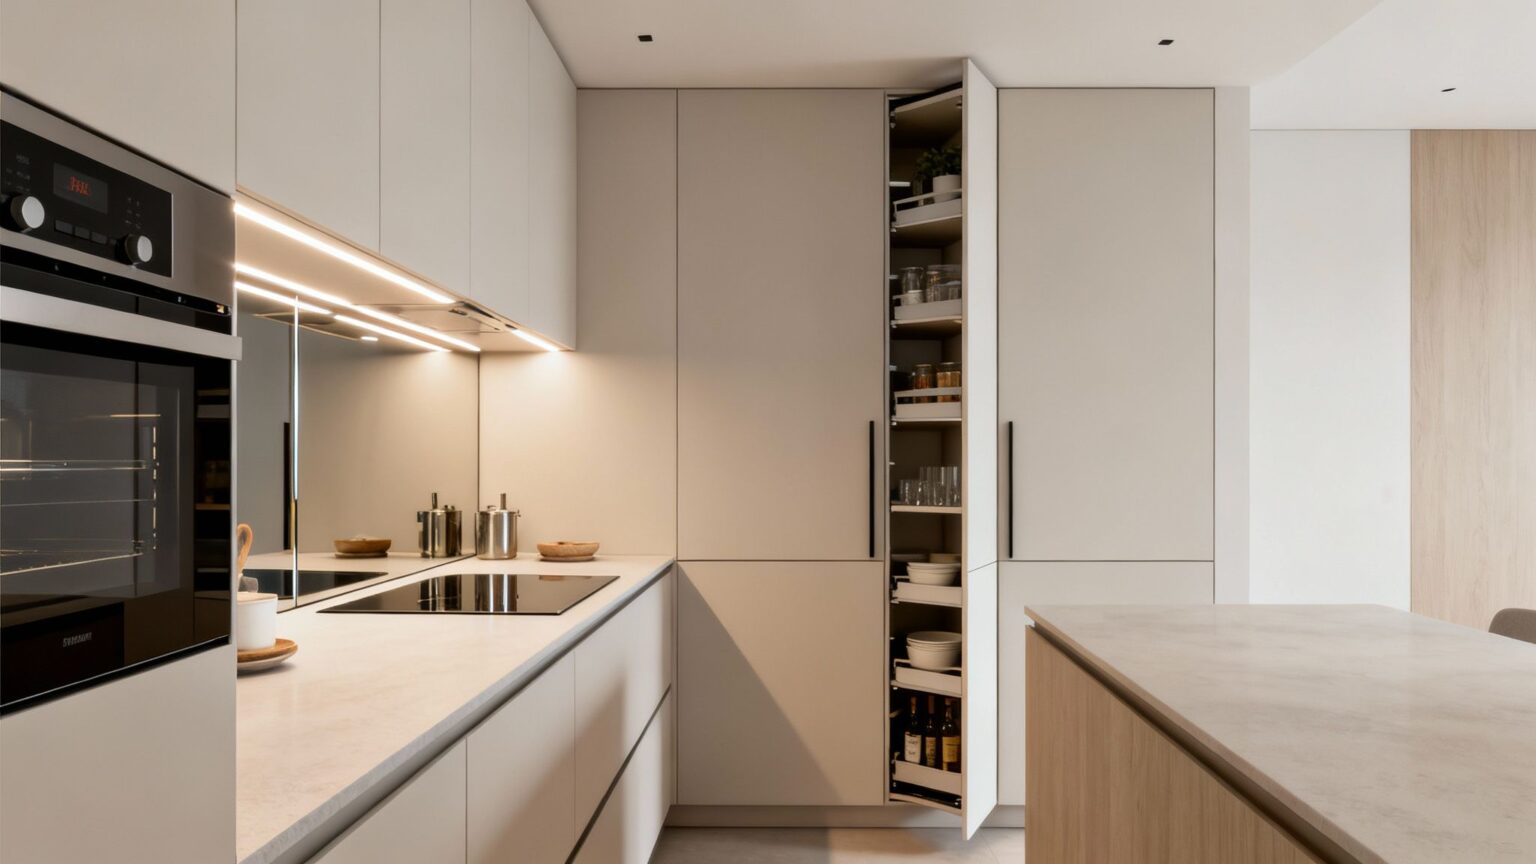
Thinking about apartment kitchen renovation? Get practical strata guidance, space-saving design ideas, and ROI-boosting tips.
Before you even think about picking out a single cabinet, the real work of an apartment kitchen renovation begins with paperwork. This isn't the fun part, I know, but getting this initial planning phase right is non-negotiable for avoiding fines, arguments with neighbours, and major headaches with your owners corporation down the track.
Honestly, nailing this groundwork is the difference between a project that runs smoothly and one that becomes a costly, stressful ordeal.
Navigating Strata and Your Pre-Renovation Groundwork
Renovating a kitchen in an apartment isn't just about benchtops and new appliances; it’s about playing by the rules of a shared building. Your first stop, always, should be your building's by-laws. Think of this document as the official rulebook for what you can and can't do.
The by-laws will clearly define the difference between a minor cosmetic refresh and a major structural change, which is a critical distinction.
- Cosmetic Works: This usually covers things like painting cabinet doors, swapping out tapware without touching the plumbing, or updating a light fitting. More often than not, these simple updates won't require any formal approval.
- Major Works: Now we're talking about anything that affects the building's structure or shared services. This includes moving walls, changing the flooring, altering plumbing or electrical wiring, and especially anything involving waterproofing. These jobs will always need a formal application and approval from your strata committee or body corporate.
Understanding the Approval Process
Trying to sneak through major works without approval is a recipe for disaster. You could be hit with a "breach of by-laws" notice, forcing you to stop all work immediately or, even worse, rip out everything you've just done at your own expense. The approval process is there to protect everyone in the building, making sure all renovations meet the required standards for safety, waterproofing, and noise.
To get your application ready, you'll almost certainly need to provide:
- Detailed plans or drawings of your proposed kitchen layout.
- A full scope of works, outlining every single change you plan to make.
- Proof of insurance and licenses for all your tradies (plumber, electrician, etc.).
- A project timeline, making sure to stick to the building’s approved hours for noisy work.
Key Takeaway: Never, ever assume a change is "minor." If you're touching the flooring, plumbing, or electrical systems in any capacity, you need to submit a formal application to your strata committee. It's always better to over-communicate than risk a breach notice.
This simple flowchart breaks down the three-step flow for getting prepared.

Following this sequence. Paperwork, then a physical audit, and finally seeking approval, ensures you don't pour time and money into a design that simply can't be built.
Auditing Your Existing Kitchen Space
Before you get too attached to a design, you or your builder must do a thorough audit of the current kitchen. This is a practical step that makes sure your vision is actually realistic and compliant from the get-go. It's all about mapping out the exact locations of your existing services.
This audit involves pinning down:
- Plumbing Points: Where are the water supply lines and waste pipes for the sink and dishwasher right now? Moving these, even a little bit, is a big job that definitely requires approval.
- Electrical Outlets and Wiring: Take note of every power point. If you want to add new circuits or move wiring for a new oven or induction cooktop, that’s classified as major electrical work.
- Structural Elements: Figure out which walls are structural and can't be touched. In most apartment blocks, the walls between your unit and your neighbours' or the common hallway are load-bearing.
Understanding these fixed points from the start helps you design a new kitchen that works with the apartment's existing infrastructure, not against it. This simple step can save you a huge amount of time and money.
For bigger jobs that might involve structural changes, you may also need to look into council approval for renovations, which is a whole separate process from getting strata sign-off. Laying this groundwork properly is the foundation of a successful and stress-free apartment kitchen renovation.
How to Budget for Your Apartment Kitchen Renovation
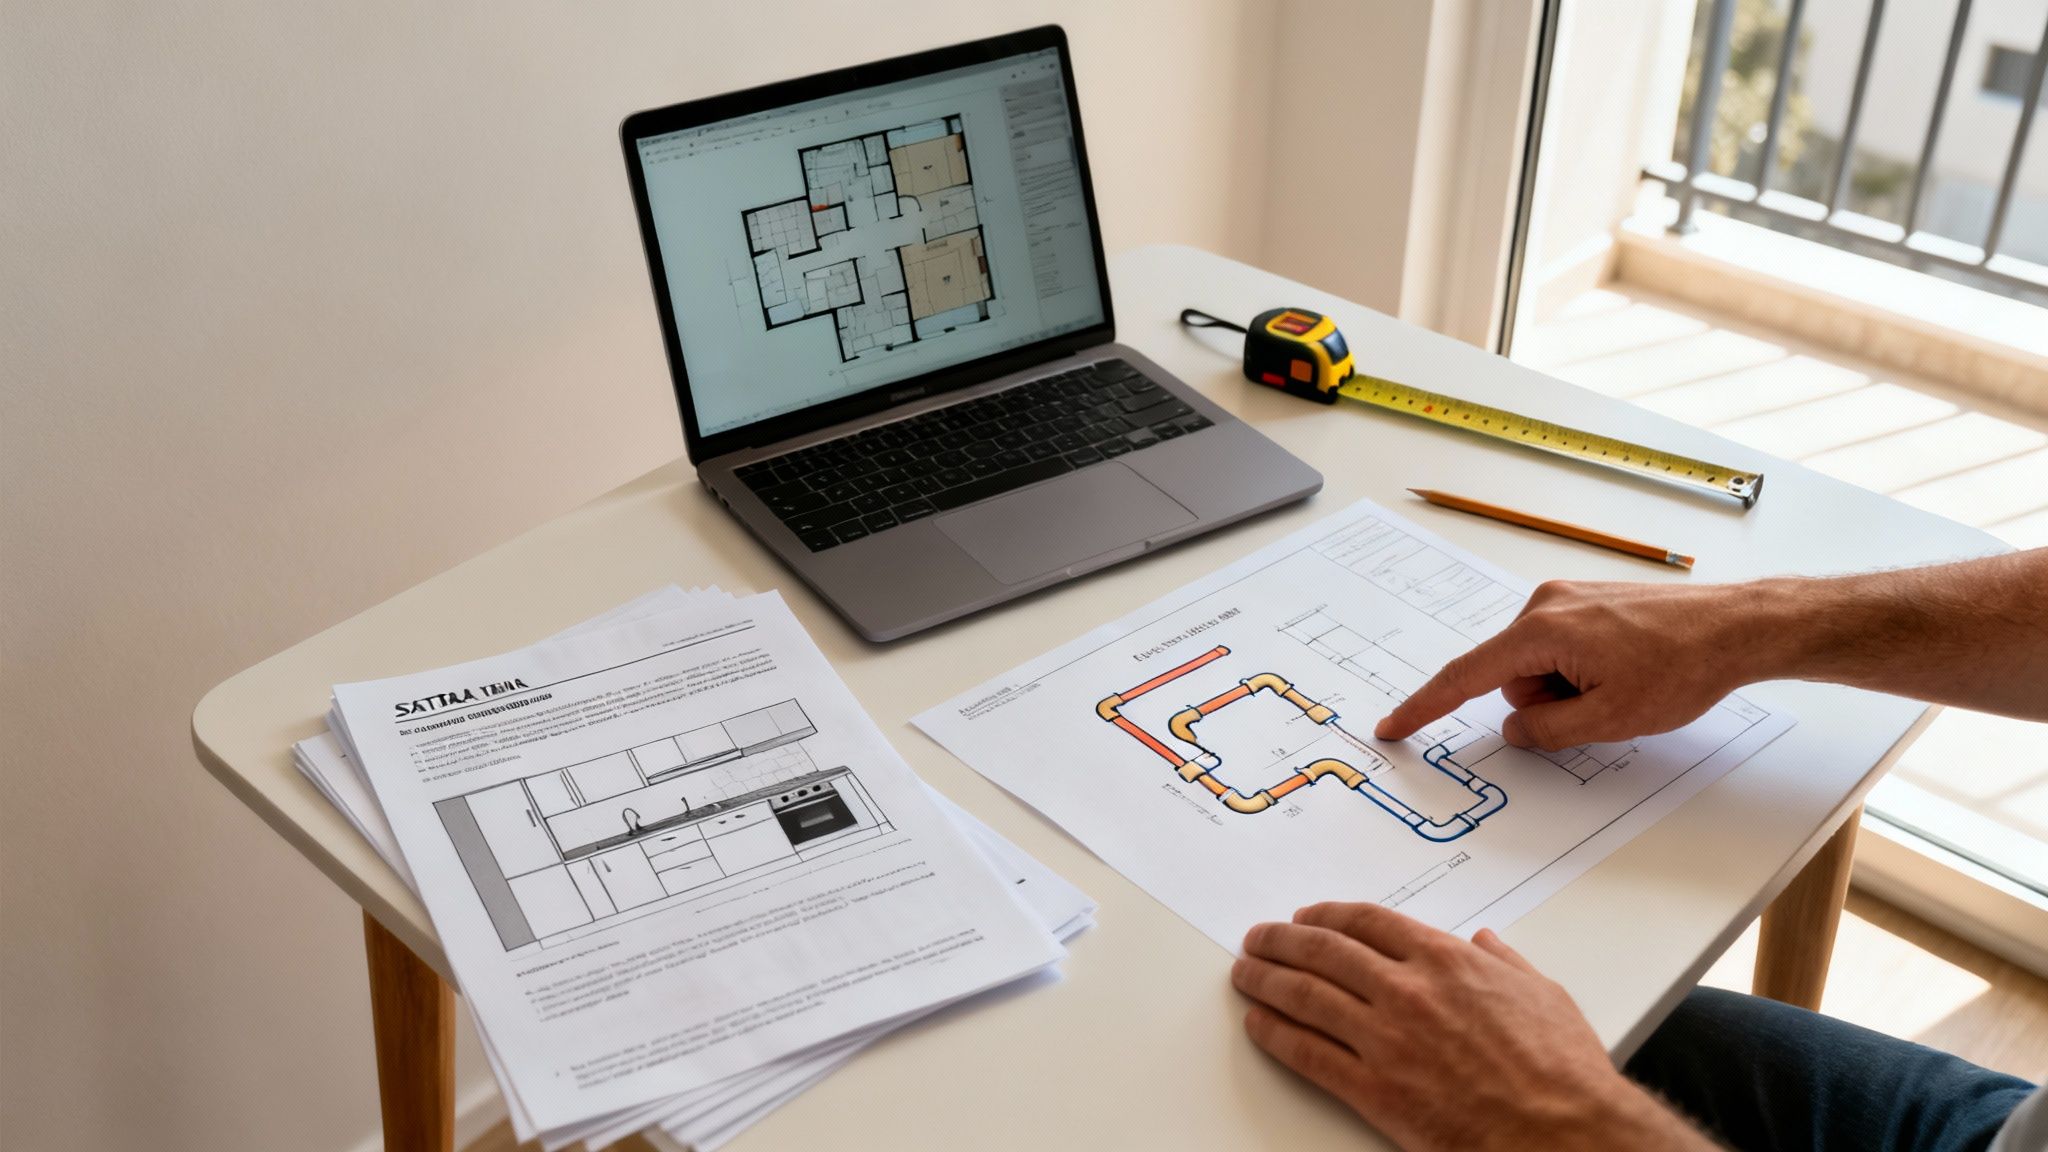
Let’s be honest, setting a realistic budget is probably the single most important thing you can do for a stress-free apartment kitchen renovation.
It’s not the most glamorous part of the project, but without a clear financial plan, costs have a nasty habit of spiralling, turning your exciting reno into a source of major anxiety.
Knowing where the money is going gives you control and helps you make smart decisions from day one.
In Australia, the price tag for a kitchen renovation can be all over the place. You might pull off a basic cosmetic refresh for around $10,000–$23,000, but the average tends to land closer to $27,500.
For a high-end, bells-and-whistles overhaul, it’s not uncommon to see costs push past $50,000.
To really get into the nitty-gritty, check out our guide on the factors influencing the average kitchen renovation cost.
These figures really drive home why you need to know exactly where every dollar is headed.
Deconstructing the Costs in an Apartment Renovation
An apartment kitchen reno isn’t quite the same as one in a freestanding house. You’ve got unique costs tied to strata compliance, tricky access, and just working in a much more confined space. When you break it all down, you'll find that cabinetry and labour usually eat up the biggest slice of the pie.
Here’s a rough guide to how your budget might get carved up:
- Cabinetry and Hardware (30-35%): This is nearly always the biggest ticket item. Custom joinery will cost you more than flat-pack options, but the payoff is superior quality and a perfect fit for those awkward apartment nooks and crannies.
- Labour and Trades (20-25%): This covers your licensed plumbers, electricians, installers, tilers, and painters. Labour can be higher for apartments simply due to things like navigating lifts, limited parking, and restricted working hours set by the body corporate.
- Appliances (15-20%): The cost here can swing wildly depending on the brands and features you choose. Be aware that compact or integrated appliances designed for small spaces can sometimes come with a premium price tag.
- Benchtops (10-15%): Engineered stone is a hugely popular and durable choice. Laminate is your go-to for a budget-friendly option, while beautiful natural stone sits at the higher end.
- Splashbacks, Flooring, and Fixtures (5-10%): This bucket includes everything else, tiles, tapware, sinks, and lighting.
Budget vs Mid-Range Apartment Kitchen Scenarios
To put this into perspective, let's look at two common scenarios. A budget-friendly refresh is all about cosmetic upgrades, whereas a mid-range overhaul means stripping everything out and starting from scratch.
| Feature | Budget Refresh (Approx. $12,000 - $20,000) | Mid-Range Overhaul (Approx. $25,000 - $45,000) |
|---|---|---|
| Cabinetry | Keep existing carcasses; replace doors with laminate or vinyl wrap. | New custom or semi-custom joinery with 2-pack finish. |
| Benchtops | High-pressure laminate. | Engineered stone (e.g., Caesarstone) or quality timber. |
| Appliances | Keep existing functional appliances; replace only what's broken. | New suite of mid-range appliances, possibly integrated. |
| Trades | Minimal plumbing or electrical; mainly a painter and installer. | Full team: plumber, electrician, tiler, cabinet maker. |
| Scope | Cosmetic facelift, no changes to the layout. | Full demolition, potential for minor layout adjustments. |
Seeing the differences laid out like this helps you match your dreams to your financial reality before you get too far down the track.
Pro Tip: When you're getting quotes, always ask for an itemised breakdown. This transparency is golden. It lets you see exactly what you're paying for and pinpoint areas where you could potentially save, like opting for a different benchtop material or appliance brand.
The Non-Negotiable Contingency Fund
If you take one piece of advice from this guide, let it be this: you must have a contingency fund. Seriously. For an apartment kitchen reno, we always recommend setting aside 15-20% of your total budget for the unexpected. This isn’t just a nice-to-have; it’s an absolute necessity.
In older apartment buildings, surprises are pretty much guaranteed. The moment you start pulling out old cabinets, you might uncover:
- Ancient, non-compliant plumbing that has to be brought up to code.
- A sub-floor that’s so uneven it needs levelling before new flooring can go down.
- Hidden water damage or mould that requires proper remediation.
- Outdated wiring that’s a genuine safety risk and needs an electrician ASAP.
Without a contingency fund, any of these discoveries could stop your project dead in its tracks. This buffer is what allows you to handle these curveballs without having to compromise on the quality of your finished kitchen. Think of it as renovation insurance, you hope you don’t need it, but you’ll be incredibly relieved it’s there if you do.
Smart Design Strategies for Compact Kitchens
Renovating an apartment kitchen isn't about working with less space; it's about making every single square centimetre work harder for you.
Clever design is your best friend here, turning what was once a cramped, frustrating room into a functional and beautiful hub. It all starts with getting the layout right to create a natural, intuitive workflow.
Most apartment kitchens are either a single-wall or galley style.
For both, the goal is to perfect the kitchen work triangle, the ergonomic flow between your fridge (storage), sink (cleaning), and cooktop (cooking).
Keeping the path between these three points clear and efficient cuts down on wasted steps and makes cooking feel almost effortless.
Maximise Every Inch with Clever Storage
Let's be honest, standard cupboards in small kitchens are often a recipe for disaster.
They create deep, dark voids where Tupperware lids and forgotten spices go to die.
The real secret to a clutter-free apartment kitchen is to think beyond basic shelving and embrace storage solutions that use every last bit of available space.
Think vertically. Think into the corners. These are the spots that are so often overlooked but hold massive potential.
Here are a few game-changers I always recommend for apartment kitchen renovations:
- Vertical Pull-Out Pantries: Perfect for those awkward narrow gaps next to the fridge, these slim sliding units turn dead space into a powerhouse for oils, spices, and jars.
- Corner Carousels or LeMans Units: Instead of a dreaded "blind corner" cupboard that requires a search party to find anything, these clever systems swing the contents right out to you. Everything is instantly accessible.
- Deep Drawer Systems: I find that replacing lower cupboards with wide, deep drawers is one of the most practical upgrades you can make. You can see everything at a glance, from pots and pans to plates, without having to dig around at the back of a dark shelf.
By bringing in smart storage, you're not just finding places to hide your stuff. You're designing a system that actively fights clutter and makes your cooking process smoother. A tidy kitchen is a functional kitchen, especially when space is at a premium.
To keep those benchtops clear and your workflow seamless, it's also worth looking into some extra smart kitchen clutter solutions.
Creating the Illusion of Space
Once you’ve got the functional layout sorted, it's time for the fun part: using visual tricks to make the kitchen feel bigger and brighter than it actually is.
This is where your choice of materials, colours, and lighting all come together to fool the eye and create a real sense of openness.
These techniques are absolutely vital for avoiding that boxed-in feeling so common in smaller kitchens.
A light-filled, cohesive design can completely change the perception of size. Even small tweaks to your finishes can have a huge impact on how the room feels.
We dive deeper into these ideas in our guide on kitchen layout ideas for small kitchens, which is packed with more inspiration.
Here are a few of my favourite, tried-and-true tricks for making a compact kitchen feel more expansive:
- Embrace Reflective Surfaces: A mirrored or glossy splashback is a classic for a reason. It bounces light all around the room, creating an instant feeling of depth. Benchtops and cabinetry with a slight sheen work just as well to achieve a similar, space-enhancing effect.
- Opt for Handleless Cabinetry: Choosing cabinets with integrated finger pulls or push-to-open mechanisms creates long, clean, uninterrupted lines. This visual simplicity is a powerful tool for de-cluttering the space and making it feel more streamlined.
- Layer Your Lighting: A single ceiling light is the enemy of a small kitchen; it just casts shadows and makes the space feel poky. A layered lighting plan is non-negotiable. Combine your main ambient ceiling lights with task-focused under-cabinet LED strips to light up your benchtops, and maybe add a stylish pendant light to create a focal point and inject some personality.
Choosing Materials and Appliances That Last
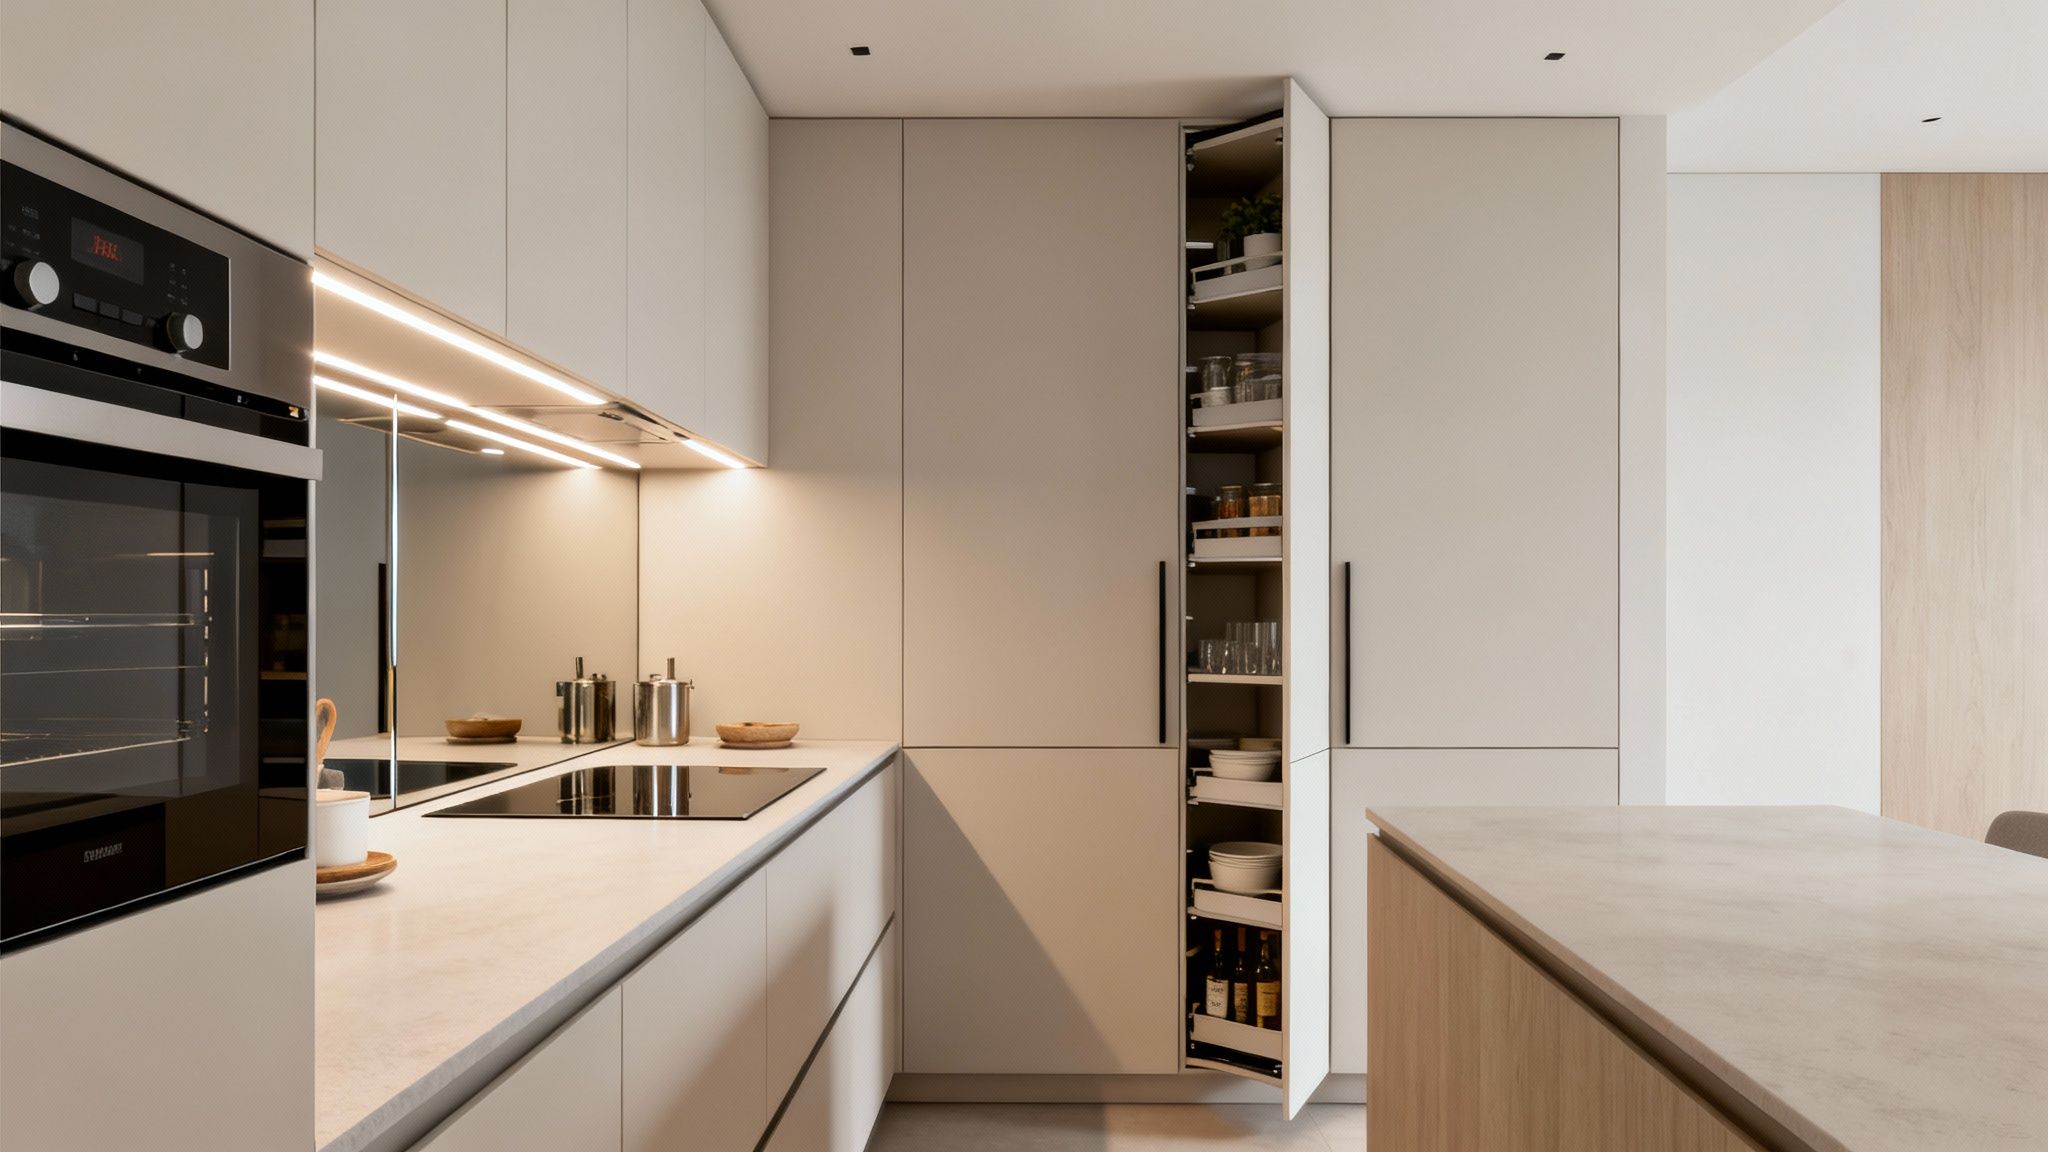
In a compact apartment kitchen, there’s simply nowhere for subpar materials or bulky, inefficient appliances to hide. Every surface is a high-traffic zone and every appliance needs to earn its keep.
Making smart choices here isn’t about splurging. It’s about investing in durability and functionality that will withstand the rigours of daily use in a small footprint.
Think of this as your buyer's guide to selecting the right components that balance style, resilience, and the specific demands of apartment living.
We’ll look at the workhorse elements, benchtops and cabinetry, before getting into appliances that can save you precious space.
Selecting Your Kitchen Benchtops
Your benchtop is arguably the most hard-working surface in your entire kitchen. It needs to handle hot pans, sharp knives, spills, and constant cleaning without looking worse for wear.
For an apartment kitchen reno, the decision usually comes down to finding that sweet spot between your budget and long-term durability.
Here's a breakdown of the most popular choices I see in Aussie apartments:
- Engineered Stone: Brands like Caesarstone or Essastone are favourites for a reason. Made from around 90% quartz, they are incredibly tough, non-porous, and resistant to scratches and stains. You get a high-end look without the maintenance headache that comes with natural marble.
- High-Pressure Laminate: Don't write off modern laminates. They've come a very long way from the peeling benchtops of the past. Today's options are affordable, available in a massive range of colours and finishes (including surprisingly realistic stone and timber looks), and are more than durable enough for everyday use.
- Natural Stone: Marble and granite are absolutely stunning, but they come with a few caveats for apartment living. They are seriously heavy, often requiring structural checks, and they’re porous. This means they need regular sealing to prevent staining. While beautiful, they represent a much higher investment in both cost and ongoing upkeep.
Apartment Kitchen Benchtop Material Comparison
To help you weigh up the options, this table breaks down how the most common materials stack up for a typical apartment renovation. It gives you a clear look at what you get for your money.
| Material | Typical Cost (per sq. metre installed) | Durability & Heat Resistance | Best For |
|---|---|---|---|
| Engineered Stone | $450 - $1,200 | Excellent scratch & stain resistance. Good heat resistance (trivet recommended). | The durable, stylish all-rounder. |
| Laminate | $150 - $400 | Good for general use. Susceptible to deep scratches and heat damage. | Budget-conscious renovations and investment properties. |
| Natural Stone | $800 - $2,200+ | Very durable and heat resistant. Can be prone to chipping and staining if not sealed. | High-end renovations where aesthetic is the top priority. |
As you can see, engineered stone often hits the perfect balance of cost, looks, and toughness for most apartment projects, but modern laminates are a fantastic choice if the budget is tight.
Deciphering Cabinetry Finishes
Your cabinetry is what really defines the visual style of your kitchen. The finish you choose not only dictates the look but also how well the surfaces stand up to knocks, spills, and fingerprints over time.
The two most common options you'll come across are 2-pack polyurethane and melamine. A 2-pack finish involves spraying multiple coats of a paint-and-hardener solution, which creates a seamless, premium, and extremely durable surface. Melamine, on the other hand, is a resin-infused paper finish bonded to a substrate, offering a really cost-effective and hard-wearing alternative.
Key Insight: While 2-pack offers endless colour possibilities and a flawless look, high-quality modern melamine provides excellent durability for a fraction of the cost. For an investment property or a mid-range apartment renovation, it’s often the more practical and sensible choice.
Choosing Smart, Space-Saving Appliances
This is where you can genuinely reclaim valuable real estate in an apartment kitchen. Standard 60cm appliances often feel oversized and clunky in a compact layout. Instead, you should be looking for apartment-sized or integrated models that are designed specifically for these tight spots.
Here are some of the best space-saving appliance swaps to consider:
- Slimline Dishwasher: A 45cm slimline dishwasher gives you more than enough capacity for a one or two-person household while freeing up a precious 15cm of cabinet space. That's huge in a small kitchen.
- Integrated Fridge: A fridge concealed behind cabinetry that matches your kitchen creates a seamless, uncluttered look. It’s a visual trick that makes the whole kitchen feel larger and more cohesive.
- Combination Microwave Oven: Why have two separate appliances when one will do the job? A combo microwave-convection oven gives you the functionality of a standard oven and a microwave in a single unit, saving an entire cabinet's worth of space.
- Induction Cooktop: Sleek, safe, and energy-efficient. Induction cooktops have a flat glass surface that can double as extra bench space when not in use, a massive bonus in any small kitchen.
By carefully selecting hardworking materials and cleverly compact appliances, you can create an apartment kitchen that is not only beautiful but truly built to last. It turns your renovation into a smart, long-term investment.
Juggling Trades & Getting The Most Bang For Your Buck
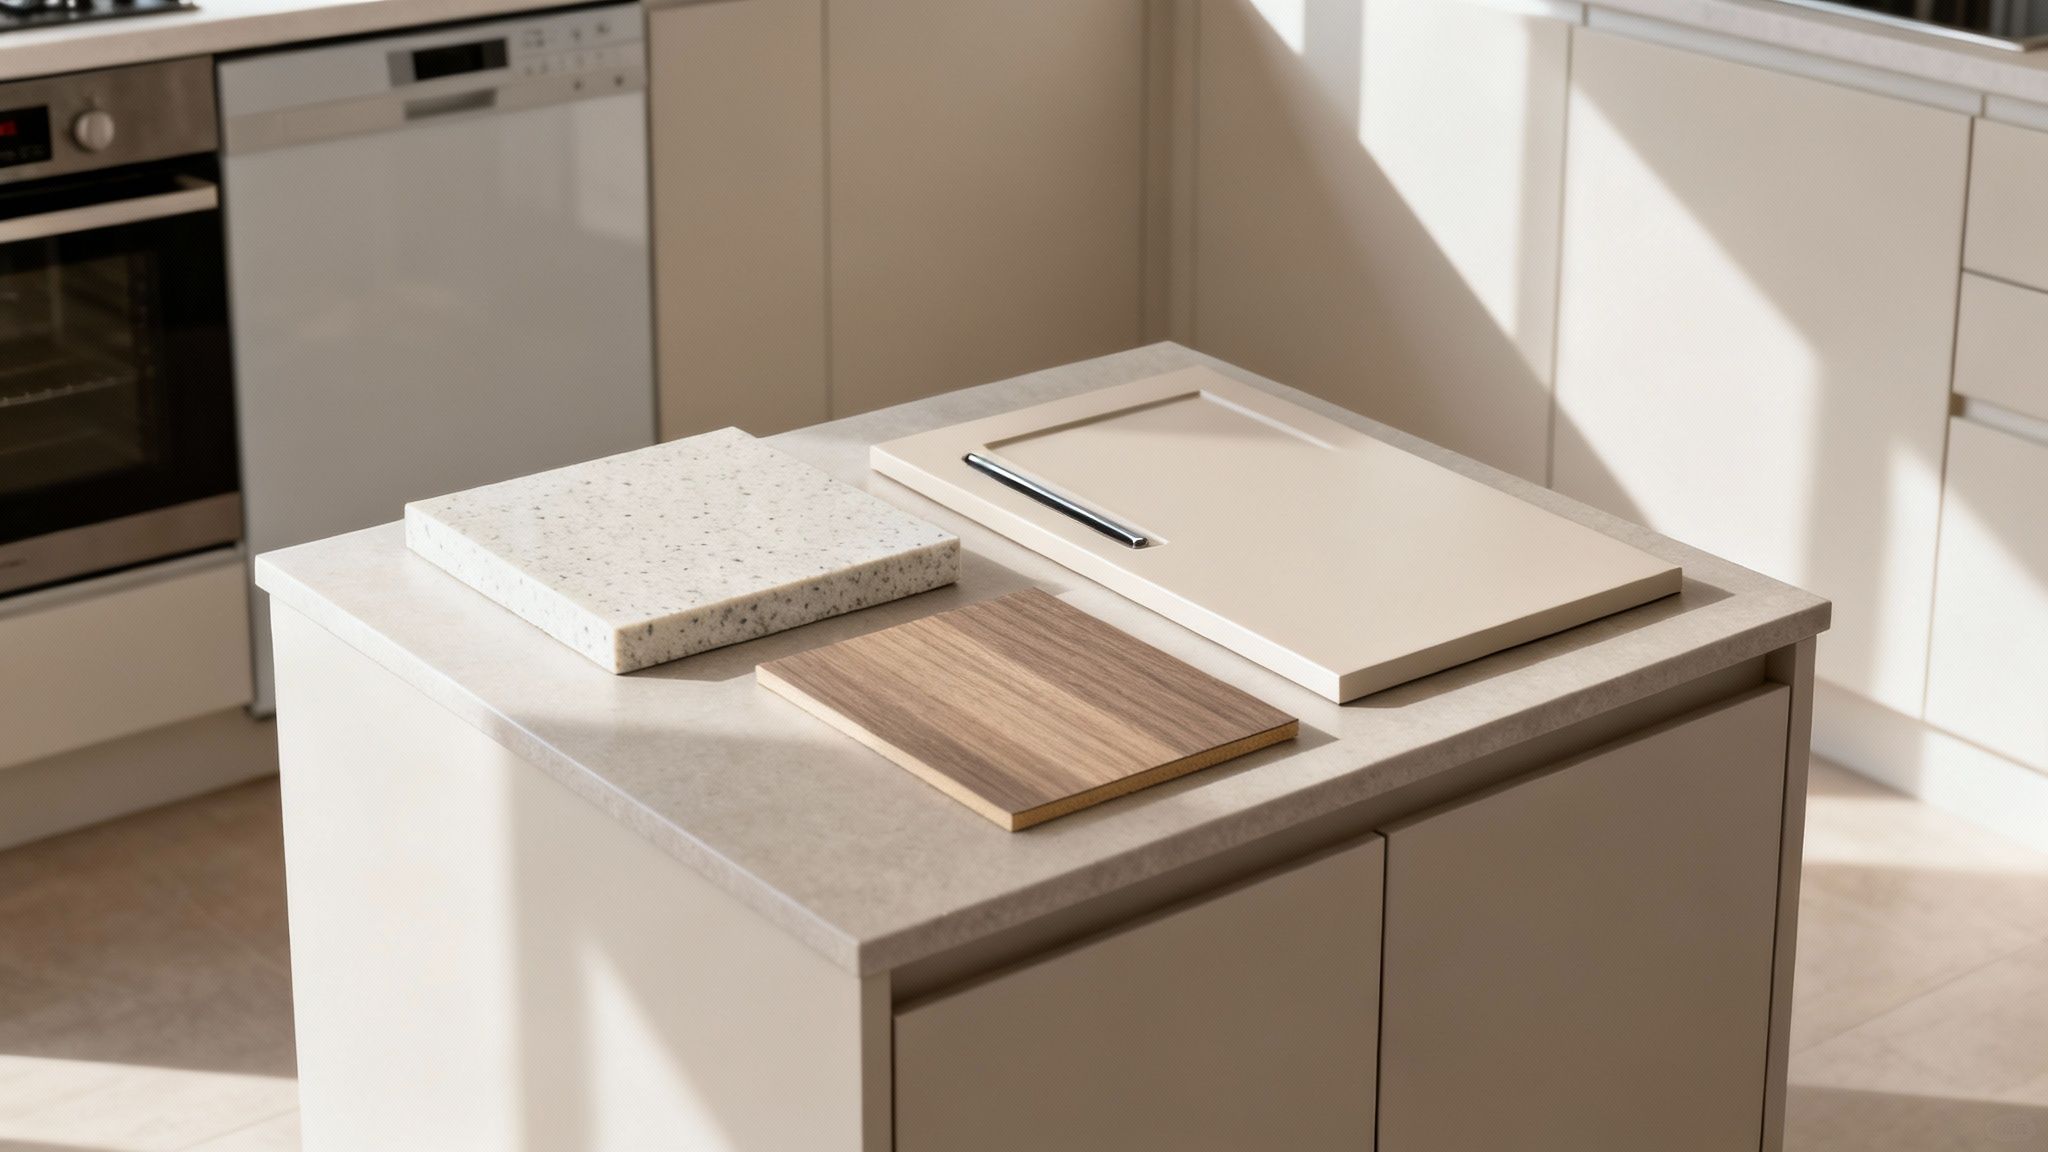
A brilliant design is a fantastic start, but let's be honest, the real magic happens during the execution. This is where your vision meets reality, handled by a team of skilled professionals.
Getting this project management phase right is what separates a smooth, valuable renovation from a costly headache.
Think of coordinating tradespeople like conducting an orchestra. Everyone has a specific part to play, and they absolutely must come in at the right time.
Get the sequence wrong, and you’ll have chaos instead of a beautiful symphony.
Getting The Right Crew On Board
The quality of your finished kitchen will be a direct reflection of the people who built it. Finding and vetting reliable, licensed professionals is arguably the most critical step you'll take. Your team will likely include a plumber, electrician, cabinet maker, tiler, and painter.
When you're looking for the right people, don't cut corners. Always:
- Check Their Credentials: In Australia, trade licenses aren't optional. Ask to see a copy of their license and their public liability insurance. This is your safety net if something goes wrong.
- Talk to Past Clients: Online reviews are one thing, but a real conversation is better. Ask for the phone numbers of a couple of recent clients and actually call them. Find out if they were punctual, communicative, and if the work has held up.
- Demand Itemised Quotes: A vague, one-line quote is a major red flag. A proper quote will break down the costs for labour and materials, so you know exactly where your money is going.
Getting The Order of Operations Right
One of the biggest money-wasters in any reno is downtime. Having your tiler ready to go before the electrician has even run the new wiring isn't just inefficient; it's a recipe for expensive rework. A logical schedule is non-negotiable.
Here’s a rough guide to how the trades should flow for a kitchen renovation in Melbourne:
- Demo and Rough-in: Once the old kitchen is gone, the "rough-in" begins. This is when your plumber and electrician get inside the walls to move pipes and wires to their new spots.
- Plastering and Prep: The walls get patched up and prepped for painting. If you're doing anything to the sub-floor, this is the time.
- Cabinets and Benchtops: The cabinet carcasses go in first. Then, precise measurements are taken for the benchtop, which is installed next.
- Plumbing and Electrical Fit-off: Now that the benchtops are in, the sparky comes back to install lights and power points, and the plumber connects your sink, tap, and dishwasher.
- Splashback and Flooring: Your splashback is installed, and the final flooring is laid down.
- Painting and Final Touches: The final coat of paint goes on the walls, and all the handles and other hardware are fitted.
Keeping the site clean is a huge part of managing trades and costs. Make sure you understand local waste rules. Some councils have very specific regulations, about waste and prohibited items, follow these to avoid fines and project delays.
Is It Actually Worth The Money?
Beyond getting a beautiful, functional space, a kitchen renovation is a serious financial decision. The question on everyone's mind is: will it add value to my apartment? The answer is almost always a resounding yes, as long as it’s done well.
A modern, well-designed kitchen is a massive drawcard for potential buyers or renters and can dramatically lift your apartment's appeal and sale price. A thoughtfully executed kitchen remodel will often recoup a huge chunk of its cost at sale time.
When it comes down to it, a smart renovation isn't just an expense. It's an investment in your property's future value and, just as importantly, in your own daily enjoyment of your home.
Common Apartment Renovation Questions Answered
When it comes to renovating an apartment kitchen, you’re not just dealing with design choices, you’re navigating a whole different set of rules, logistics, and practicalities unique to shared living.
To help you get started with confidence, we’ve put together some straightforward answers to the questions we hear the most from our clients.
Think of this as your quick-reference guide. Getting clear on these points early will save you a world of stress, time, and money down the track.
Do I Always Need Strata Approval?
This is the number one question we get, and the answer isn't a simple yes or no. For purely cosmetic updates, you often don't need to go through a formal approval process.
- Minor Changes: Things like painting your existing cabinet doors, replacing a tap without changing the plumbing, or swapping out a light fitting are usually good to go.
- Major Works: Anything that involves waterproofing, moving plumbing or electricals, changing the flooring, or knocking down walls will almost certainly require a formal application to your strata committee.
The golden rule is simple: when in doubt, always ask. It’s far better to check with your strata manager beforehand than to receive a "breach of by-laws" notice, which could force you to halt work or even tear out completed sections at your own cost.
How Long Does a Renovation Take?
Patience is key here, an apartment kitchen renovation isn't a weekend project. The exact timeline really depends on the scope of your plans.
A simple cosmetic refresh might only take one to two weeks. But for a full demolition and replacement, you should realistically set aside four to six weeks from the first day of demolition to the final clean-up.
This assumes all your materials have arrived and the trades are scheduled back-to-back.
Just be aware that things like custom cabinetry lead times or delays in getting strata approval can easily push this schedule out.
Can I Install a Gas Cooktop?
While it’s a common dream for keen cooks, installing a gas cooktop in an apartment is often not practical. The possibility depends entirely on your building's existing infrastructure.
Many modern apartment buildings are built as all-electric and simply don't have a gas line running to each unit.
If your building does have gas, you will still need strata approval, and the work must be completed by a licenced gas fitter.
For most people, a high-performance induction cooktop is a far more realistic and popular alternative, giving you powerful, precise cooking without all the compliance headaches.
What Is the Best Way to Handle Rubbish Removal?
Managing waste is a critical, and often overlooked, challenge in an apartment renovation. Your building’s by-laws will almost certainly forbid you from using the common property bins for any construction debris.
You need a clear plan for rubbish removal before the project even starts.
This usually involves one of two options:
- Hiring a small skip bin, but only if your body corporate permits it and there's a suitable spot for it on the property.
- Arranging for your contractor to remove all debris from the site each day.
Don’t forget to factor the cost of waste management into your overall budget. A clean and safe work site is essential for keeping the neighbours onside and ensuring the project runs smoothly without any fines or interruptions.
Ready to tackle your apartment kitchen renovation with a team that understands the unique challenges?
The experts at Smarter Home Renovations offer an end-to-end service, managing everything from strata approvals to trade coordination.
Contact us today for a consultation and a transparent, no-hidden-costs quote.